OctoPrint.org
OctoPrint around the World
For an upcoming article in the german edition of MagPi I recently asked around on Google+ and Patreon for pictures of your OctoPrint setups - and you delivered! :D
Not making a blog post out of the results of this little call to action would have been a shame, considering the very awesome stuff that was shared, so here I present you a very first “OctoPrint around the World” community spotlight feature!
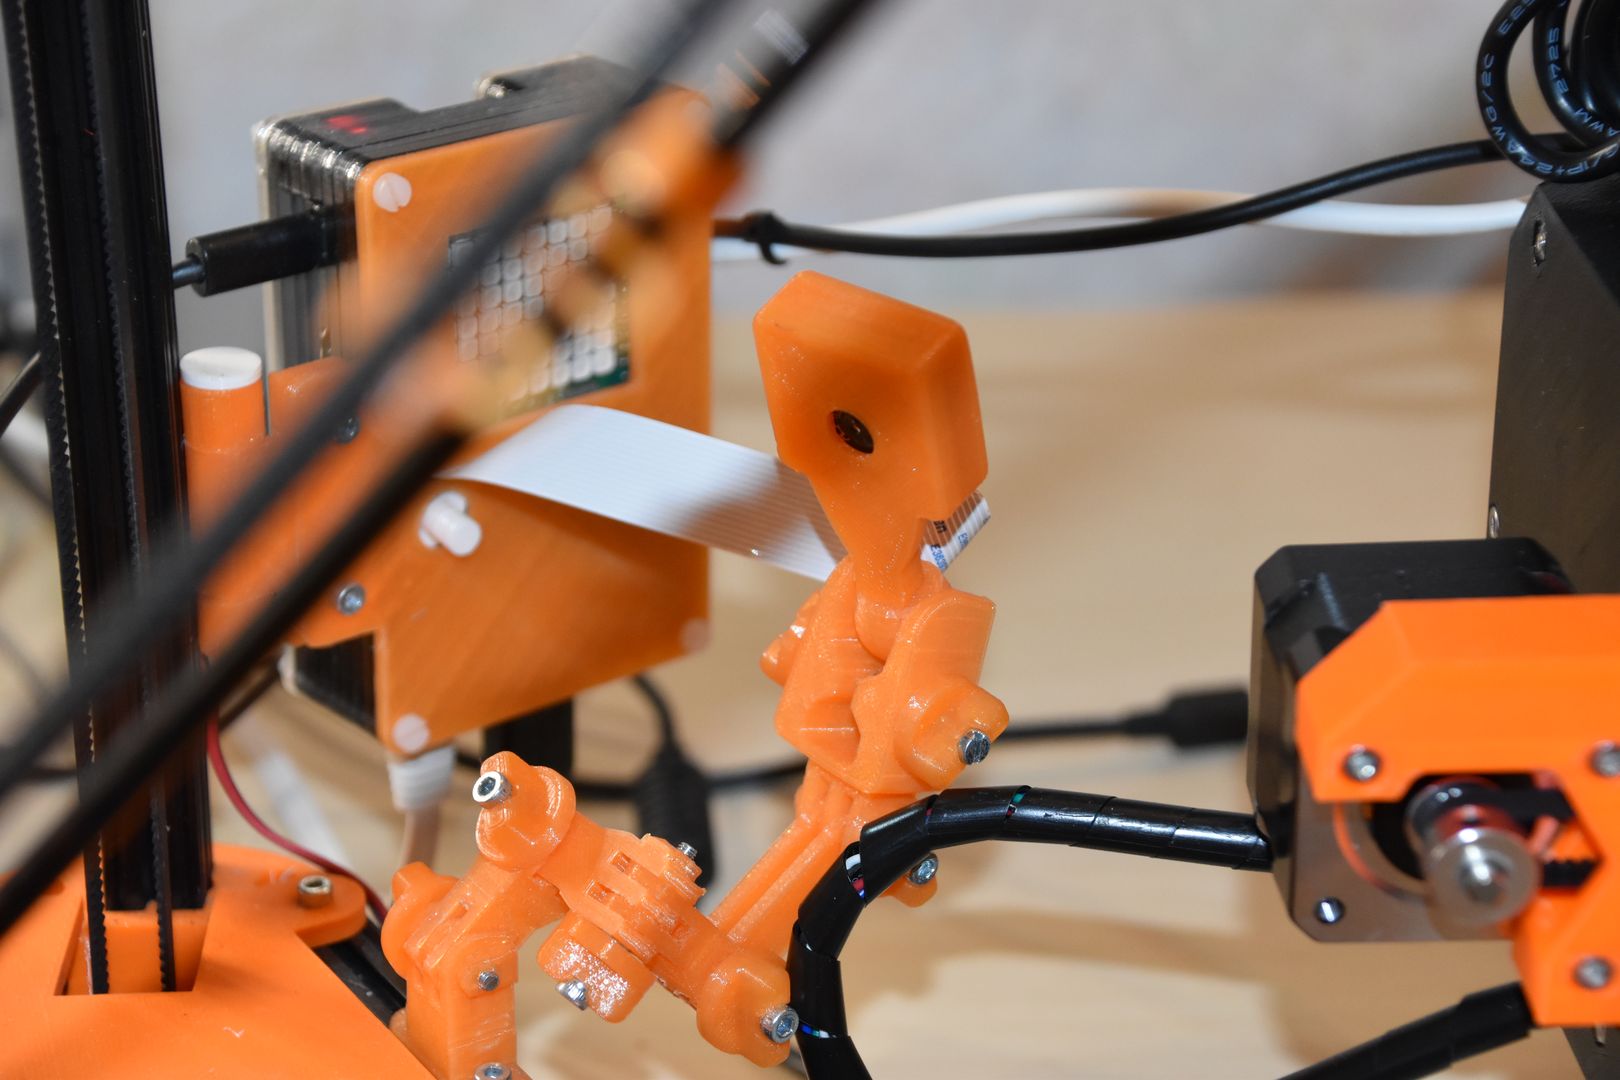
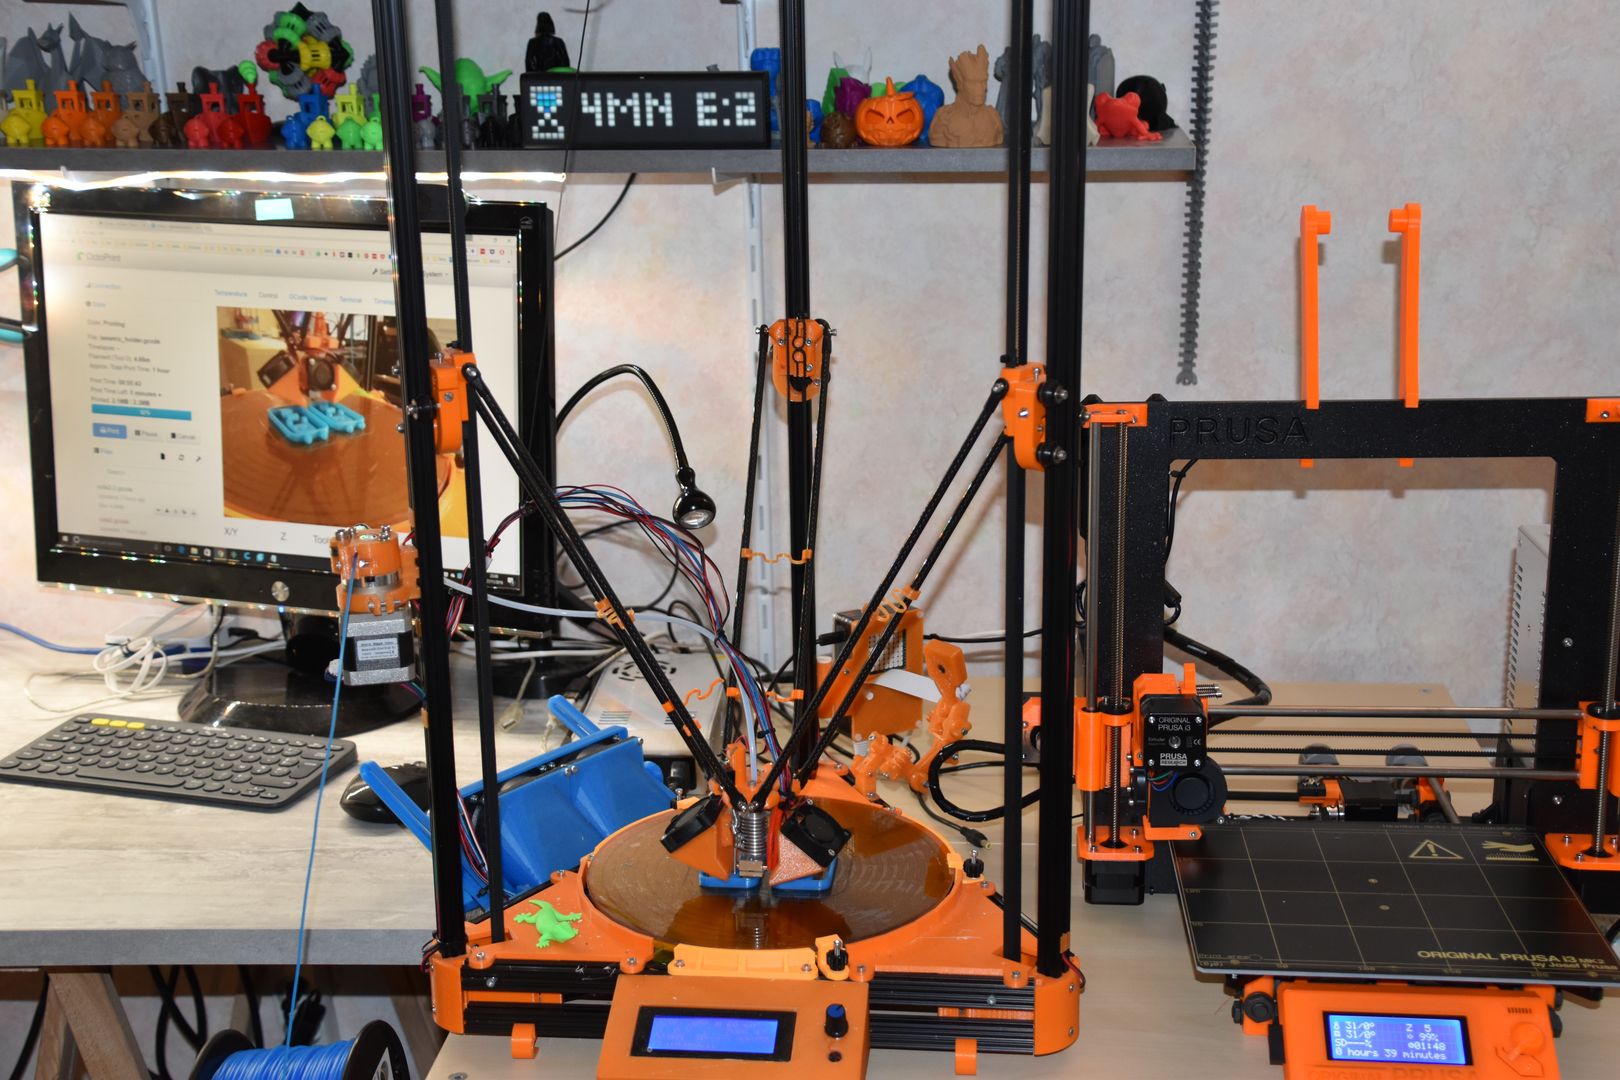
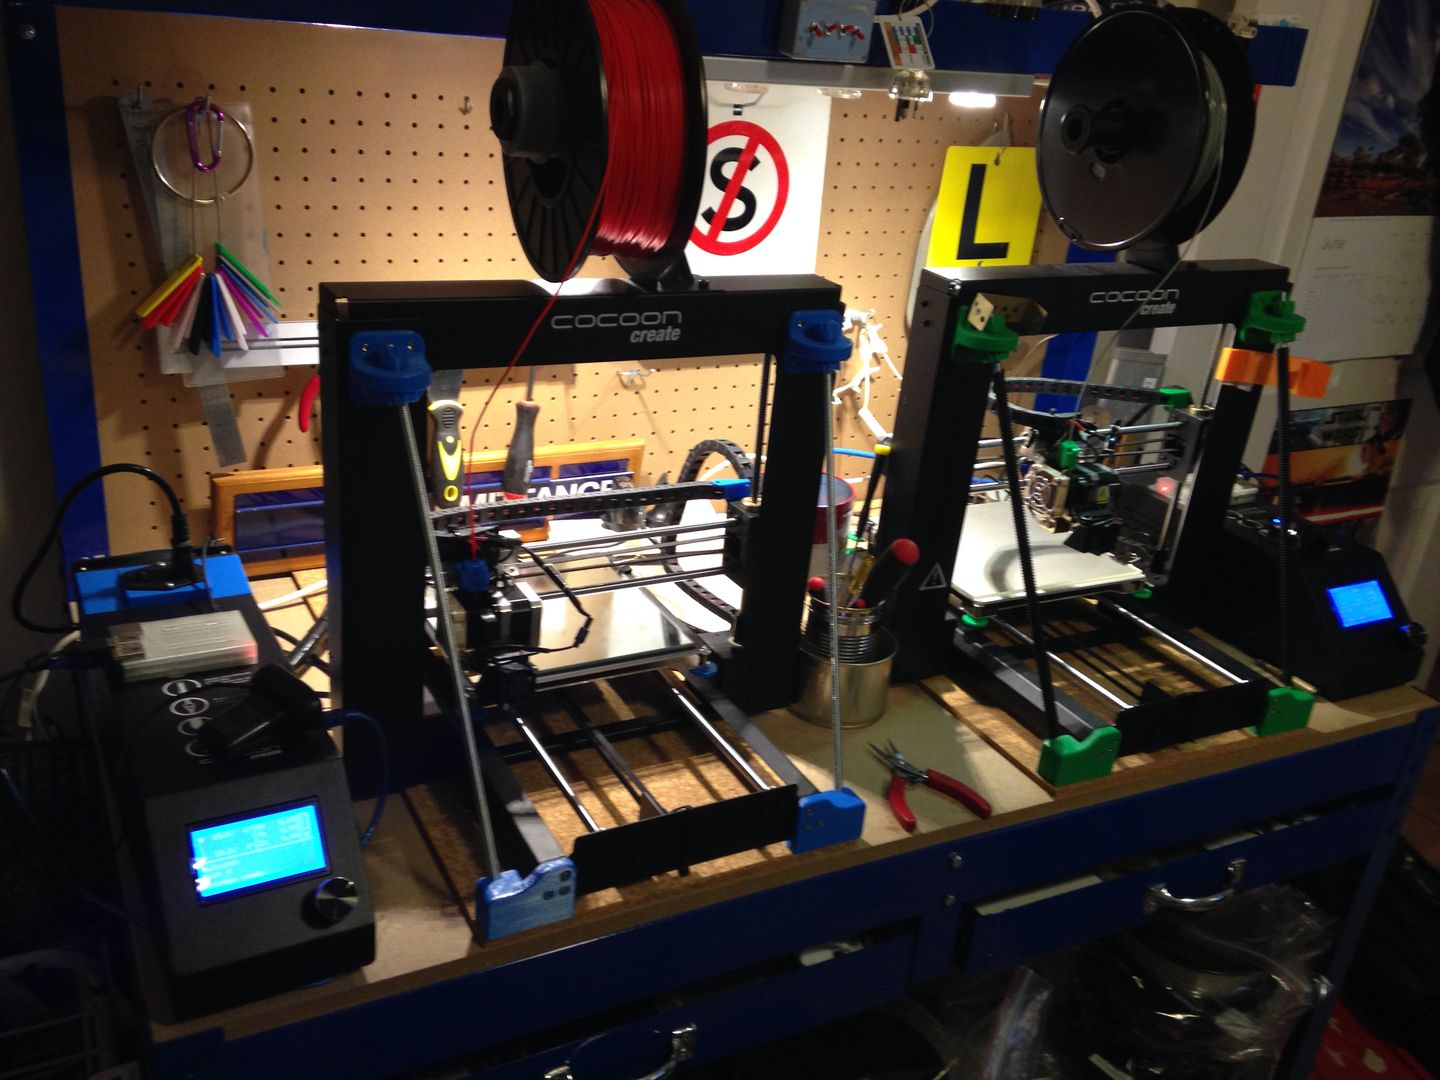
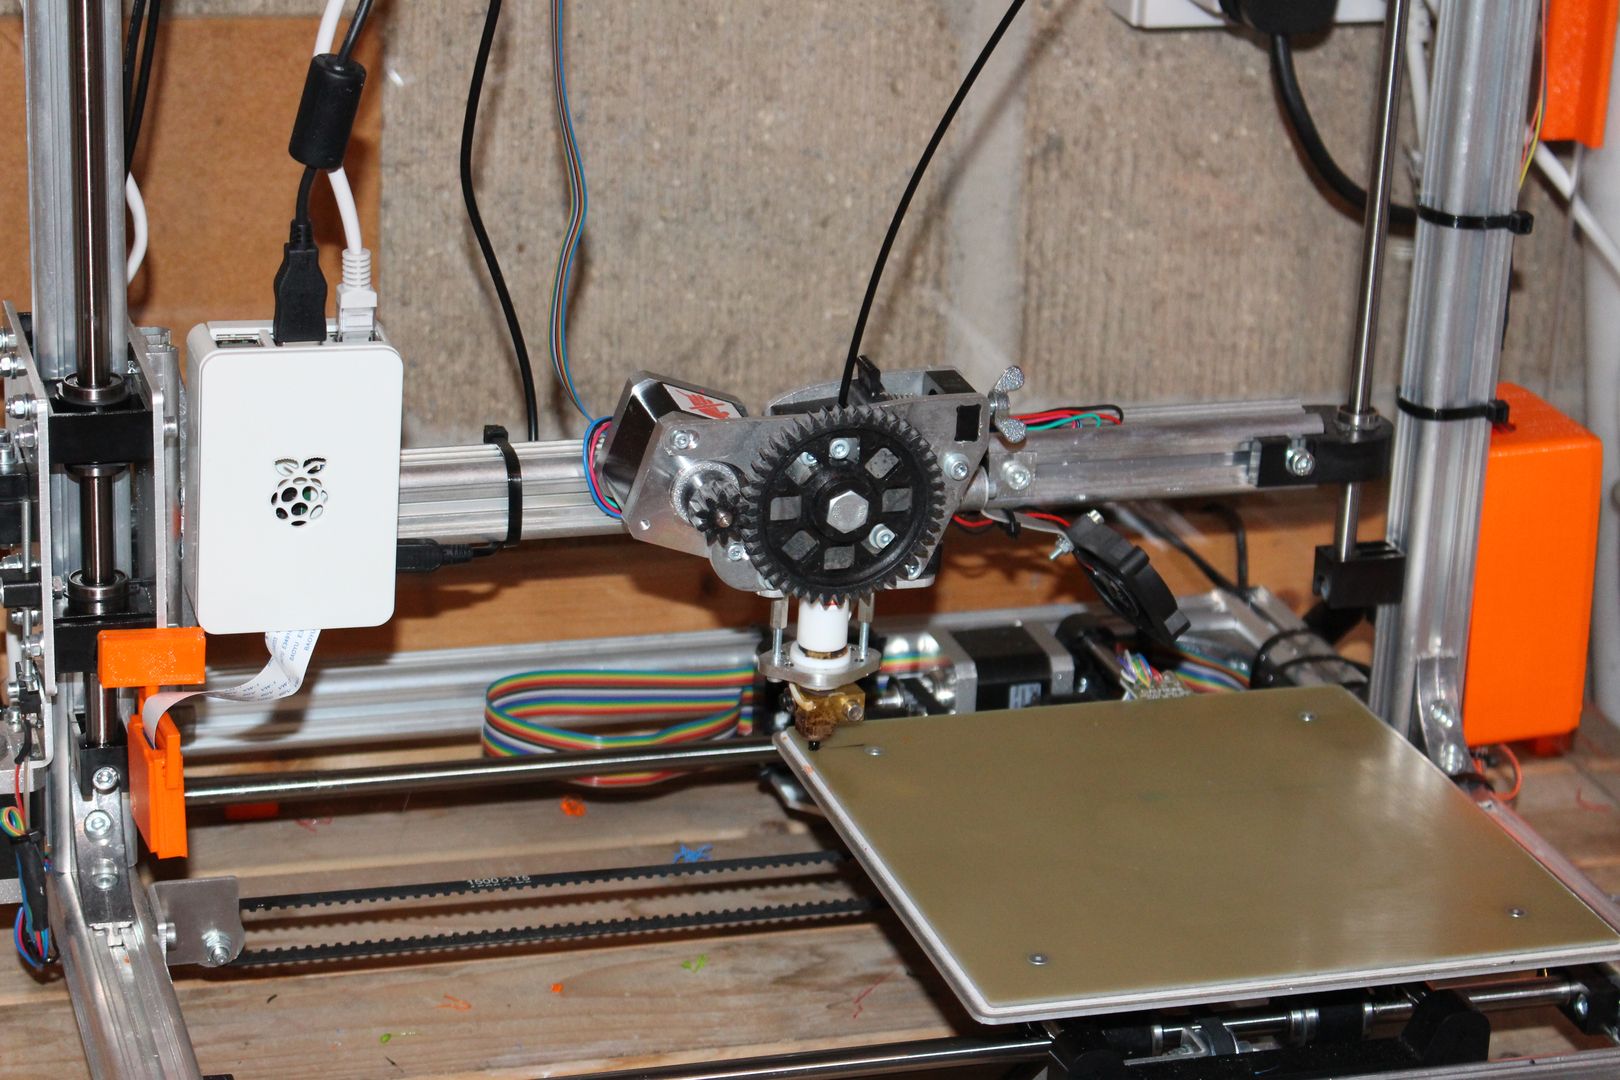
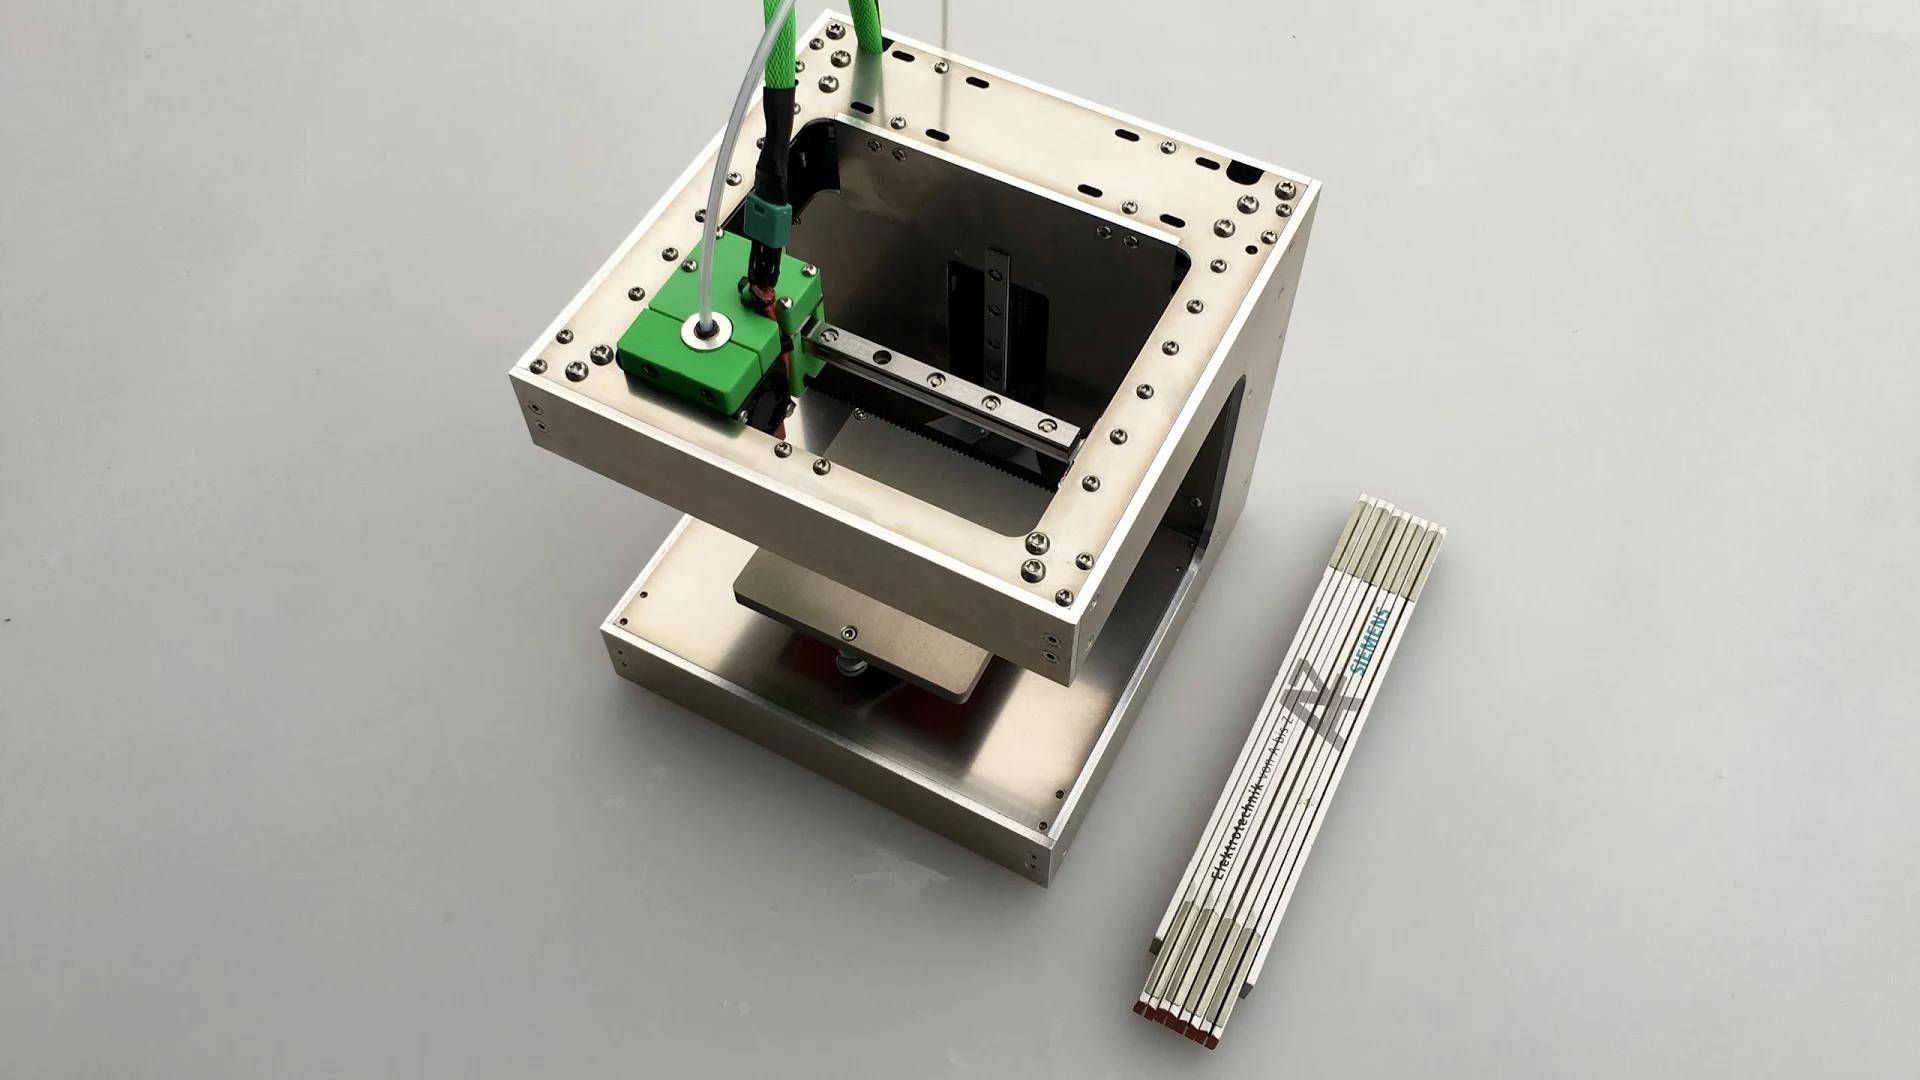
Let’s start with this very nice setup of stephl02 that really caught my eye thanks to the custom display:
2 printers, 2 RPI and a LED display : time remaining, bed and extruder temp (from the OctoPrint API)
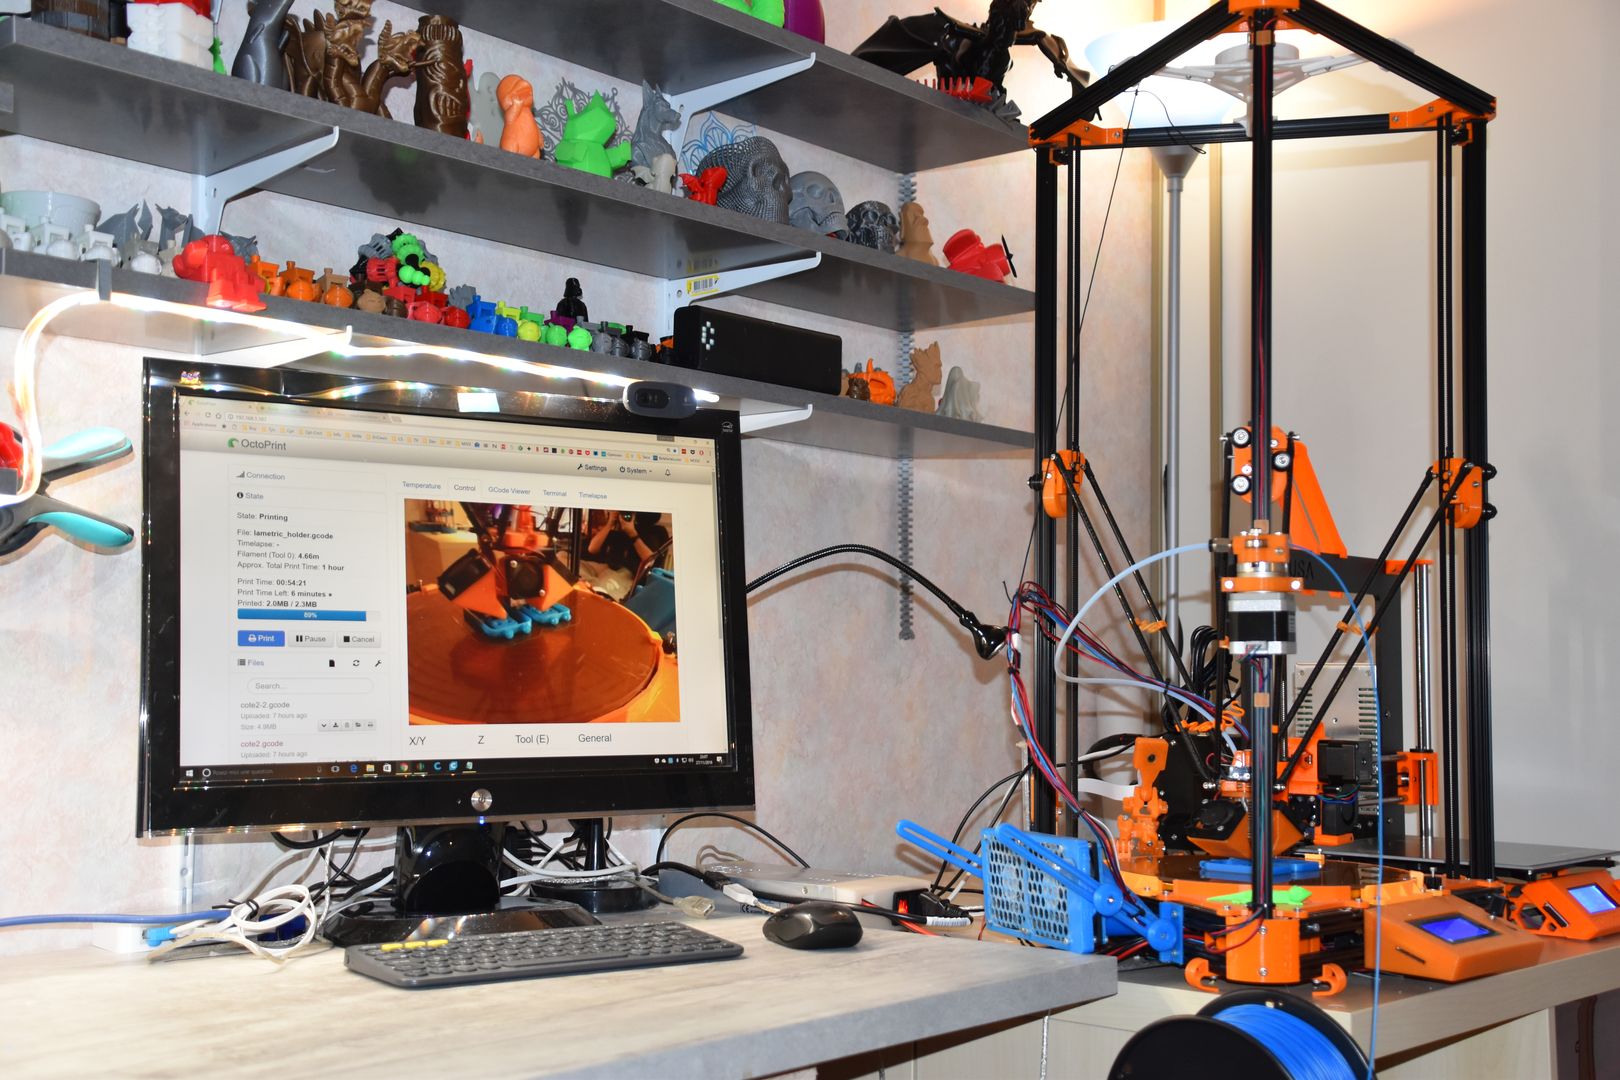
Sweet!
Rob Googe went all out with the color coding:
My two printers (Wanhao i3), Blue and Green, Octoprint is running on two RPis. Each Octoprint is coloured the same as the printer it belongs to. Both have webcams, although I’m not usually too far away.
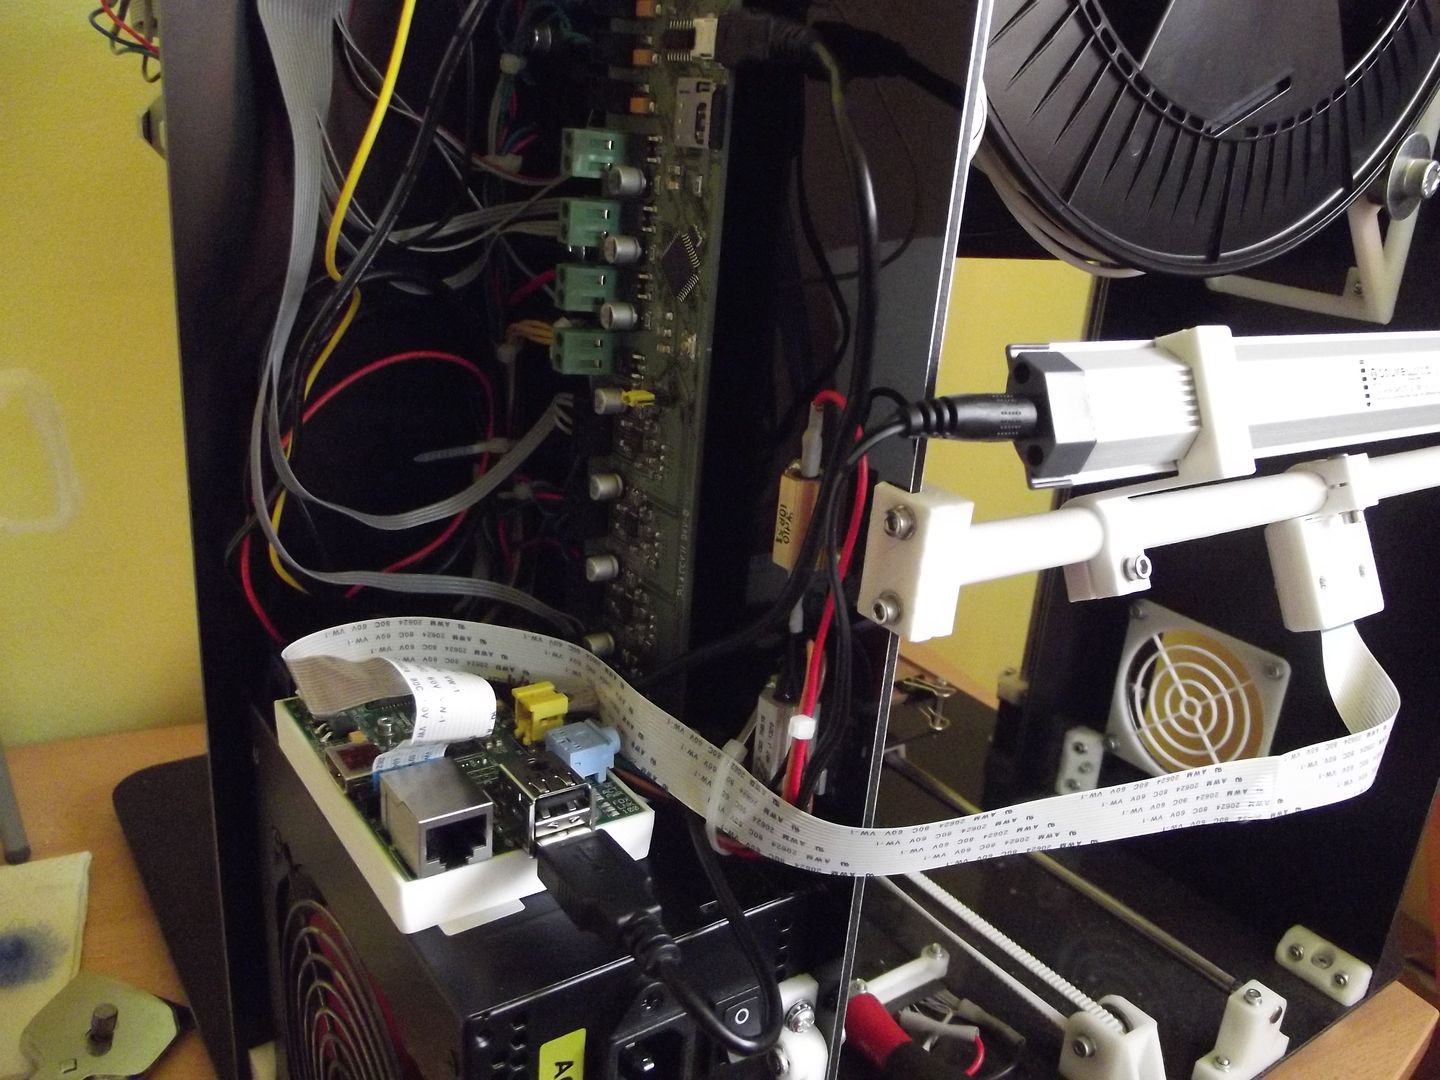
Long time OctoPrint user Bryan Mayland not only shared his setup but also some valuable advice:
You can’t have a printing space without space blankets and googly eyes
I wholeheartedly agree on the googly eyes part :D
And Michael Jones definitely appears to agree on the space blanket part for use as an enclosure:
It’s pretty ugly, but the printer is under the thermal blanket “enclosure” and the electronics (including my trusty original RPi model B) are sitting inside the black toolbox. (OctoSticker slightly visible on the side of the box!)

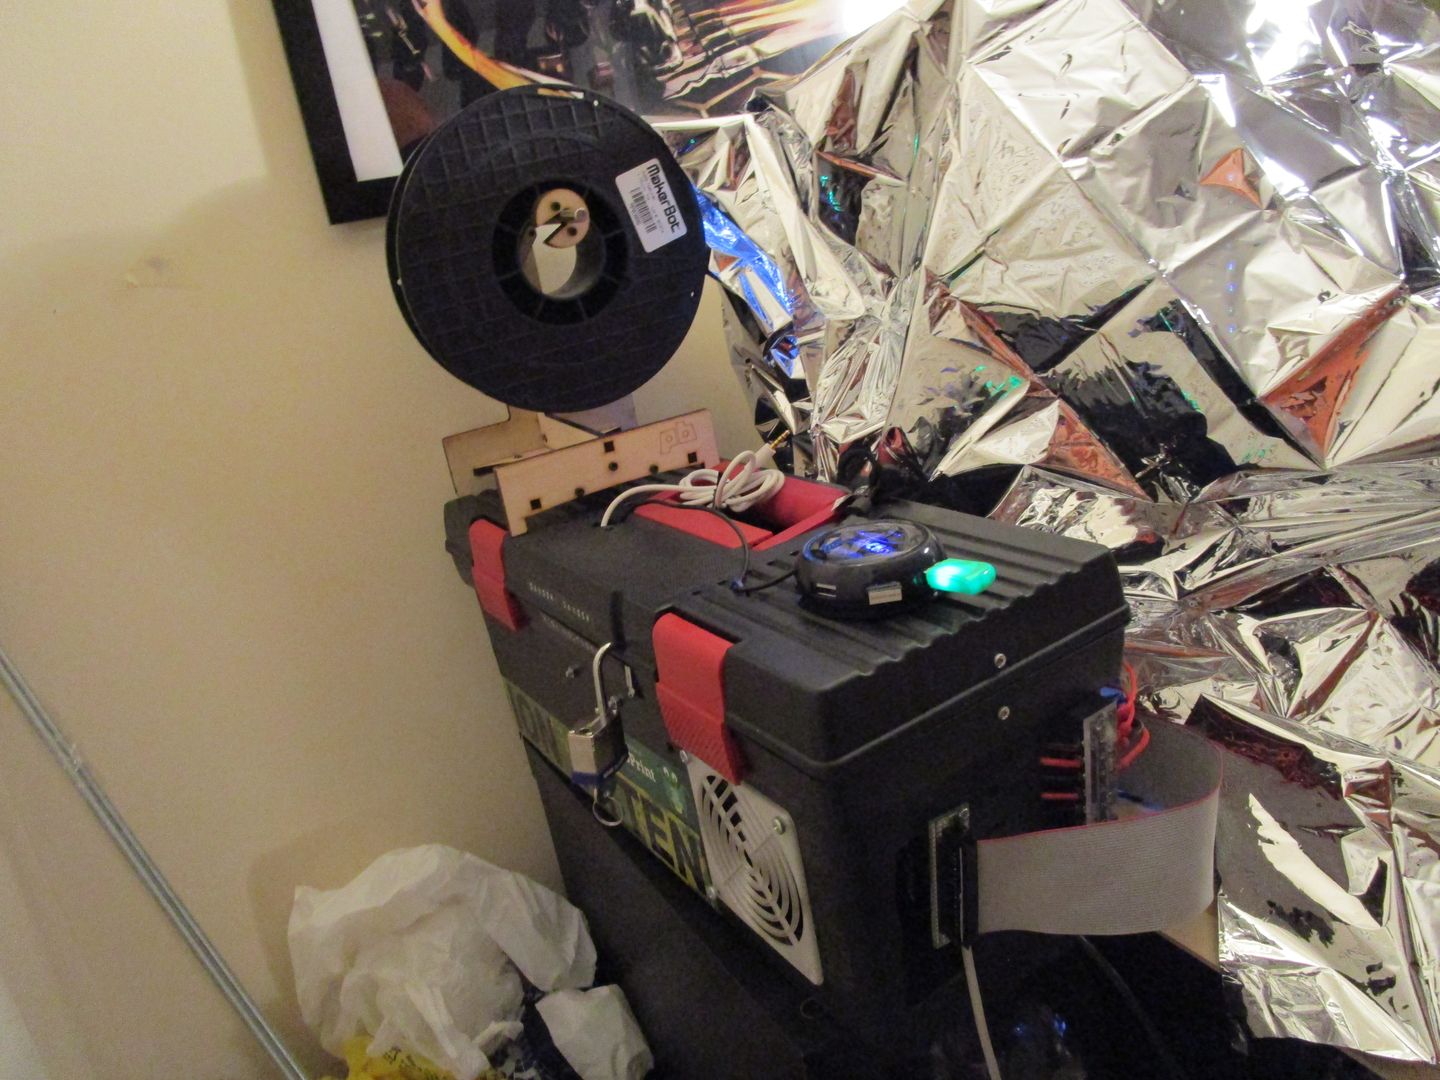
For some more pictures with descriptions of this water cooled setup, see also his gallery here.
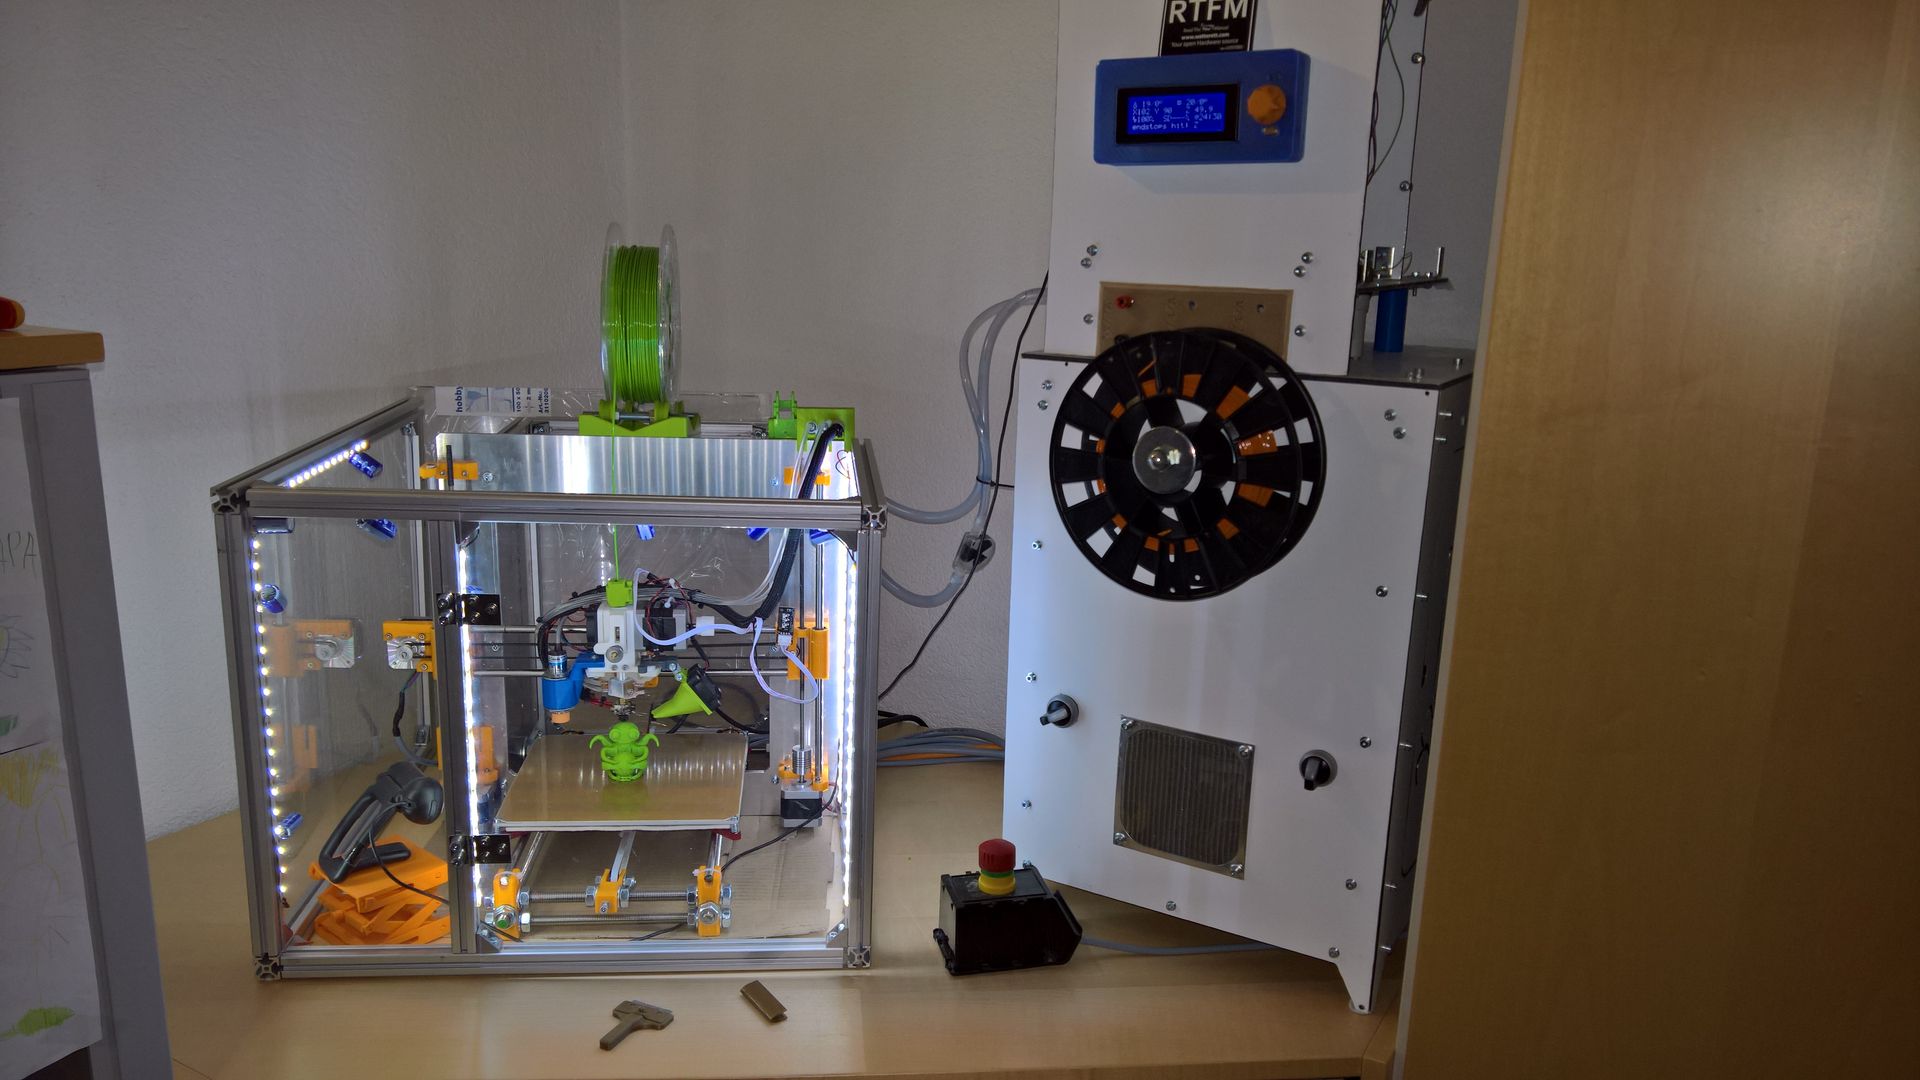
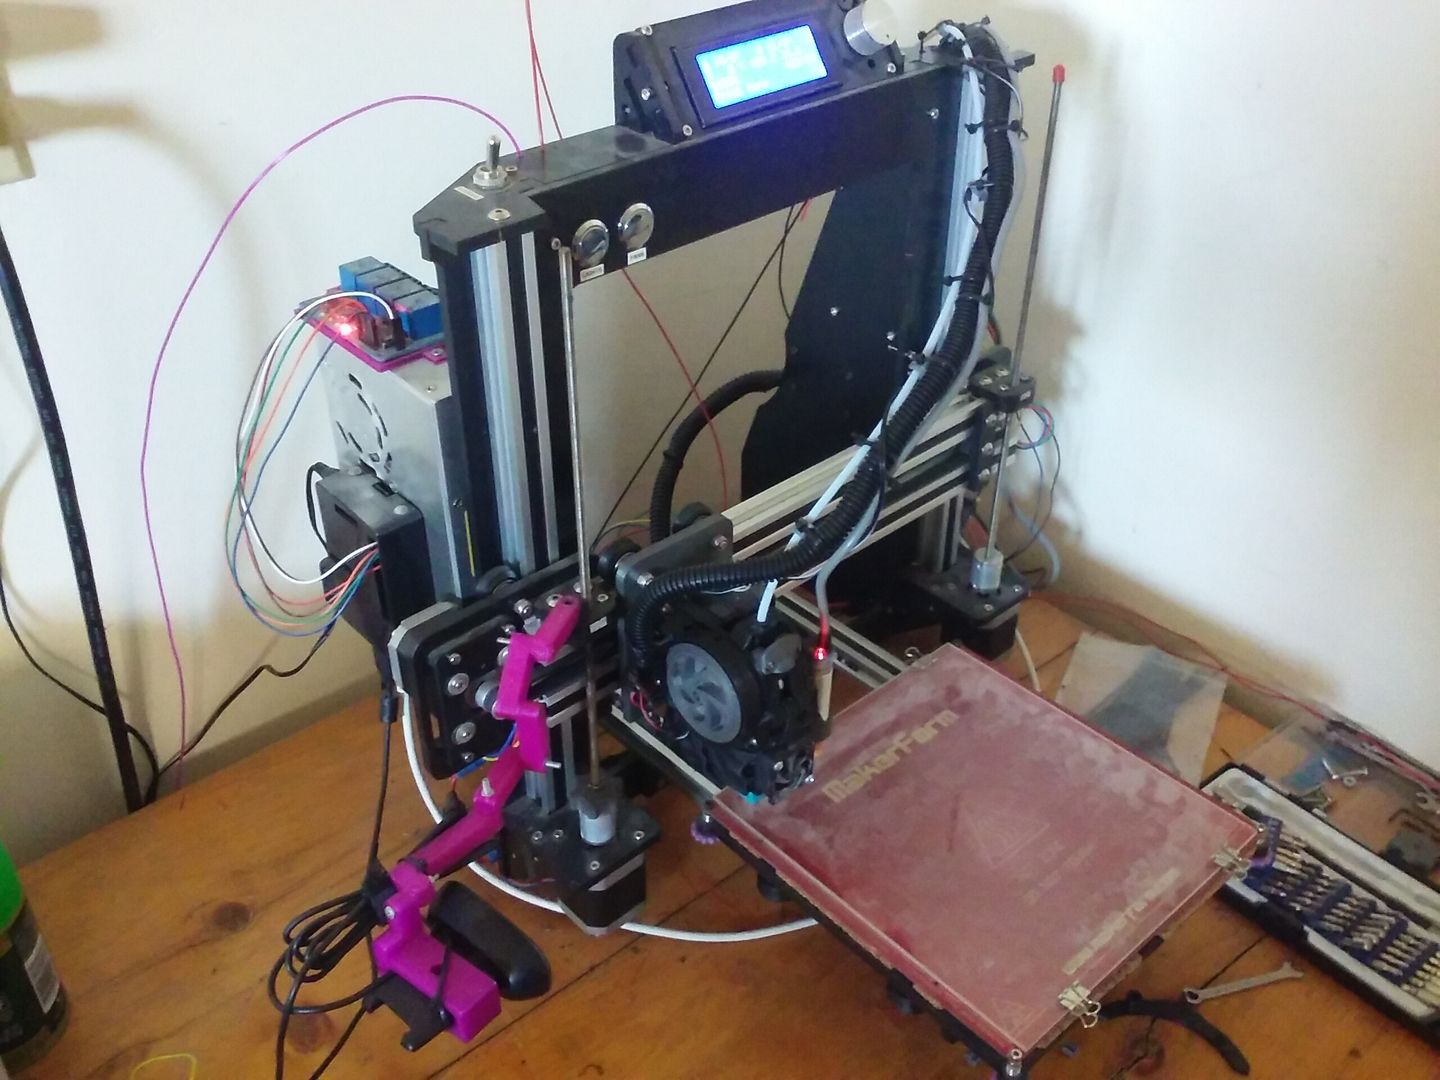
Speaking about water cooling and enclosures, Bastian Pawlik also went down that road:
My selfmade Prusa i3 water cooled printer running at 24V with self designed cooling tower and (not yet fully covered) Power Station.
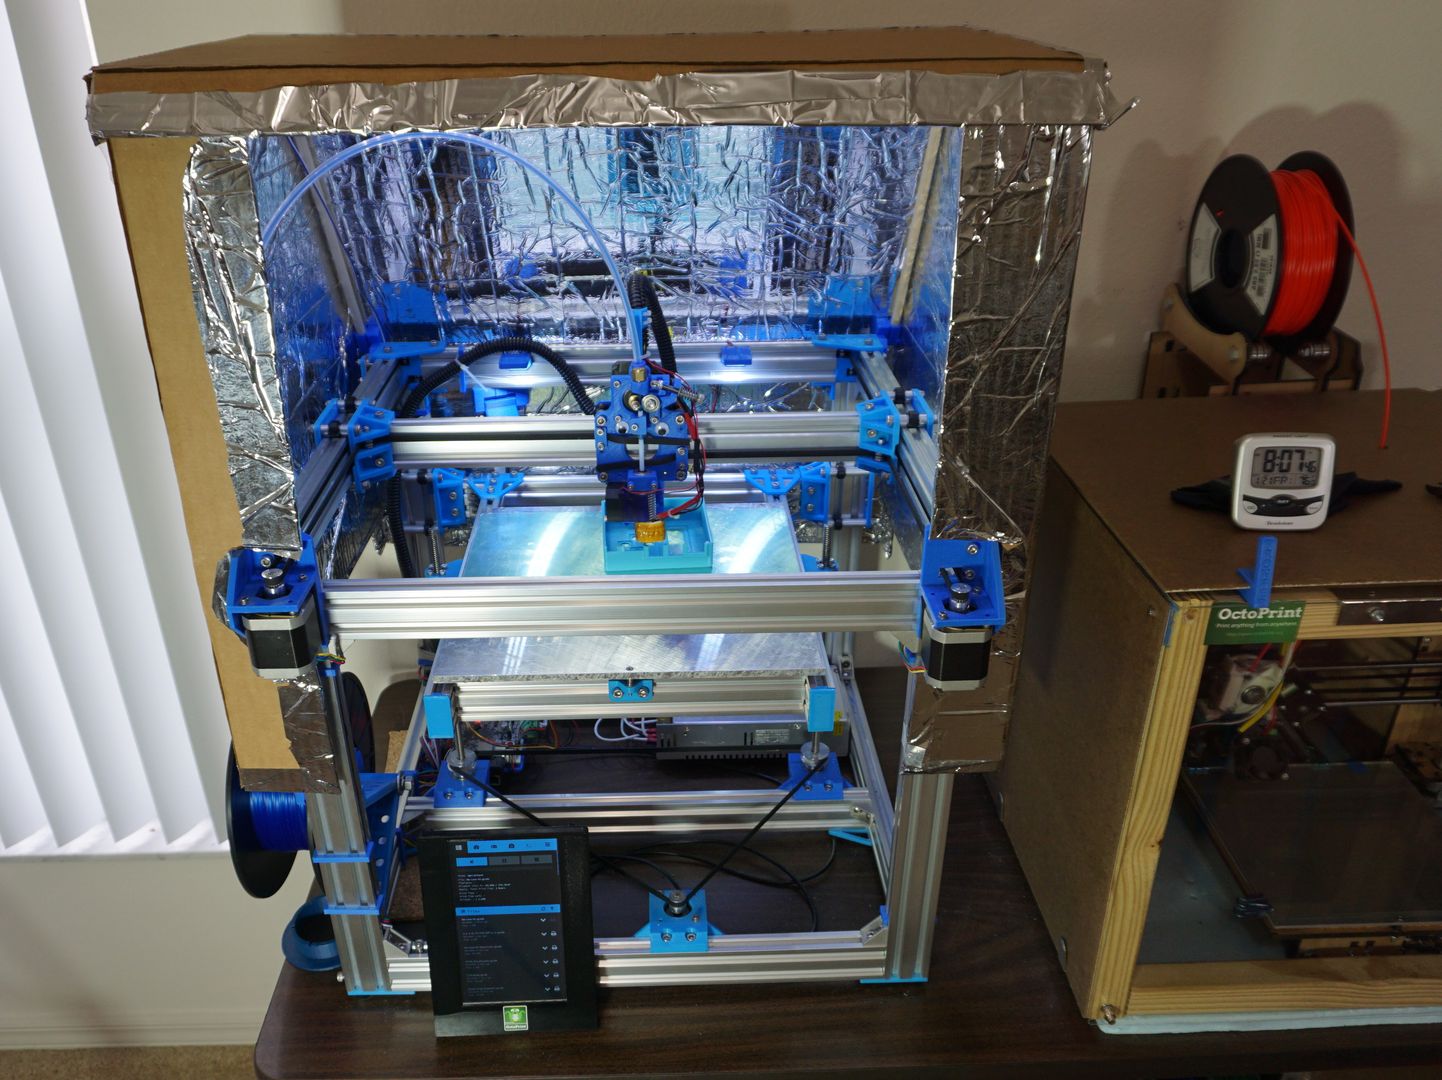
Matt Miller opted in for an enclosure as well, but without the space blanket part:
Here’s my setup. 7” RPI touchscreen for local access with LCD displaying network ip
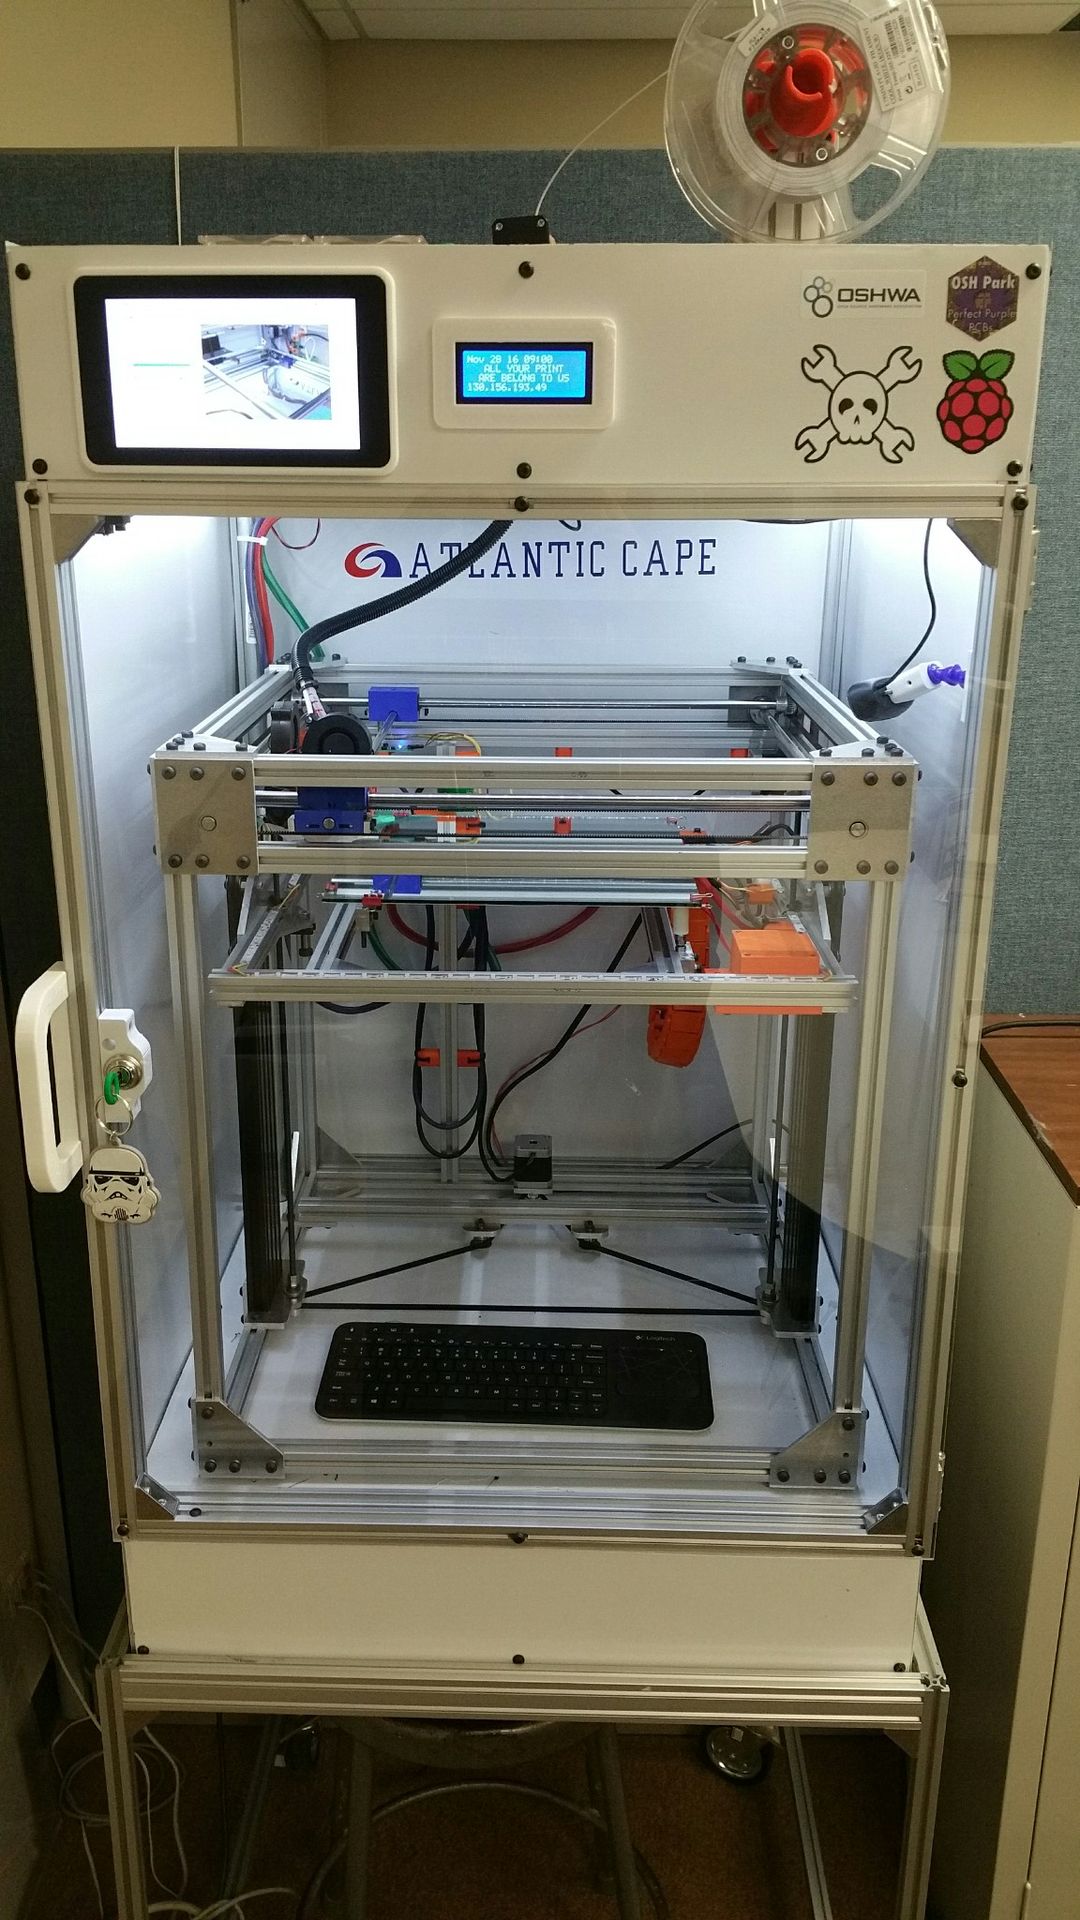
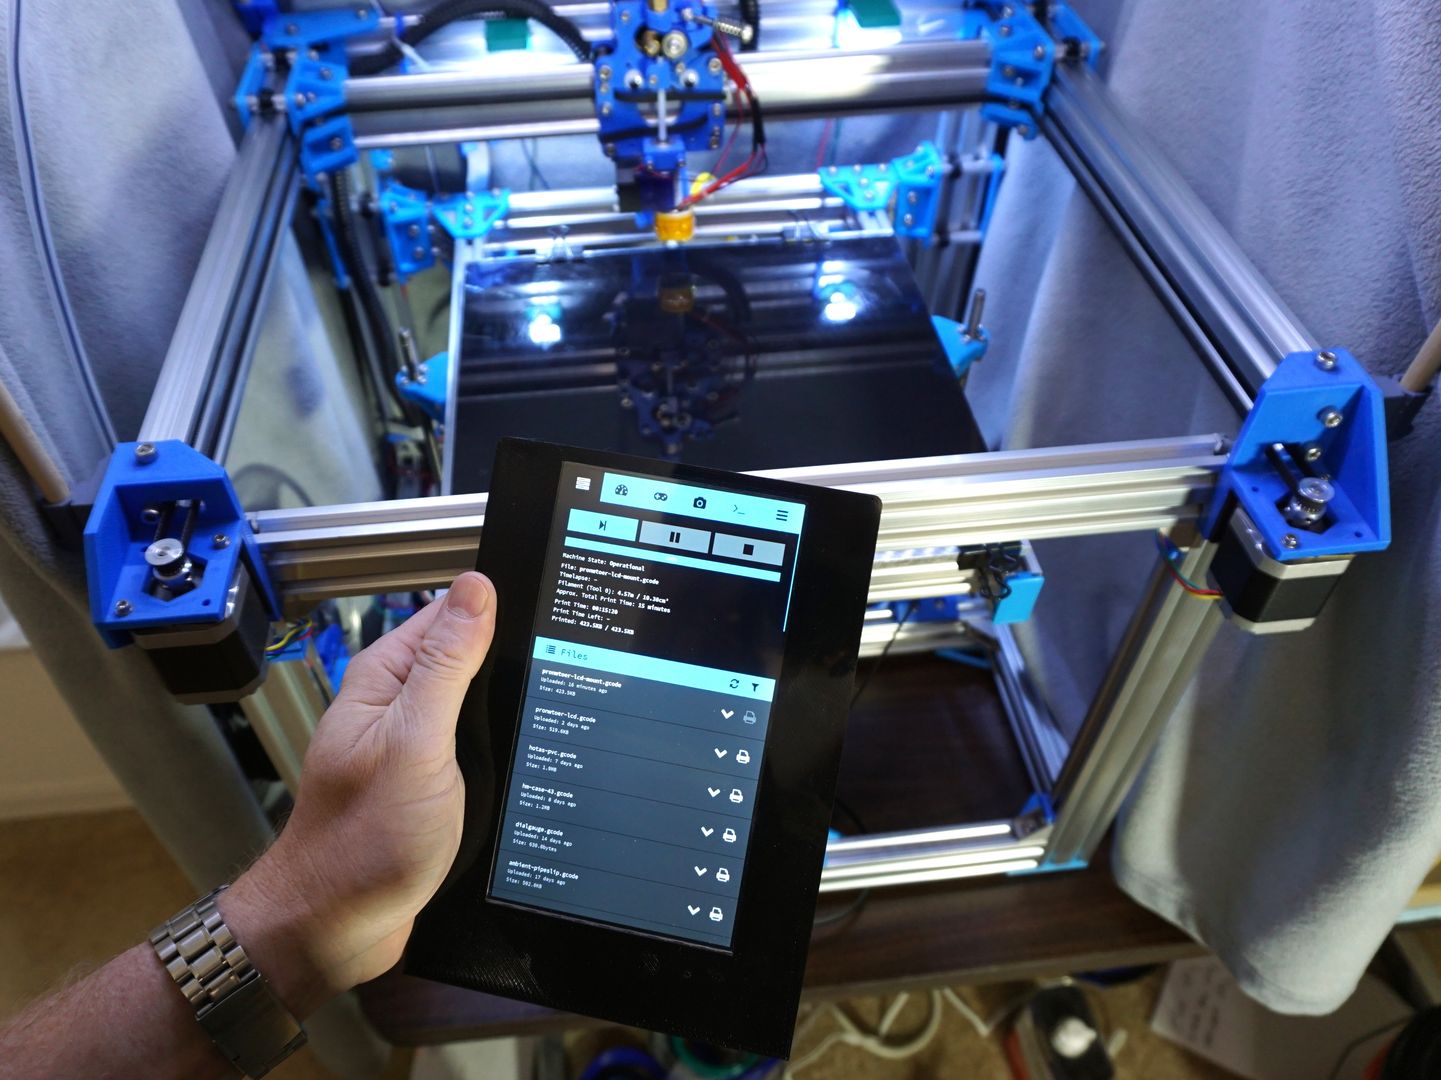
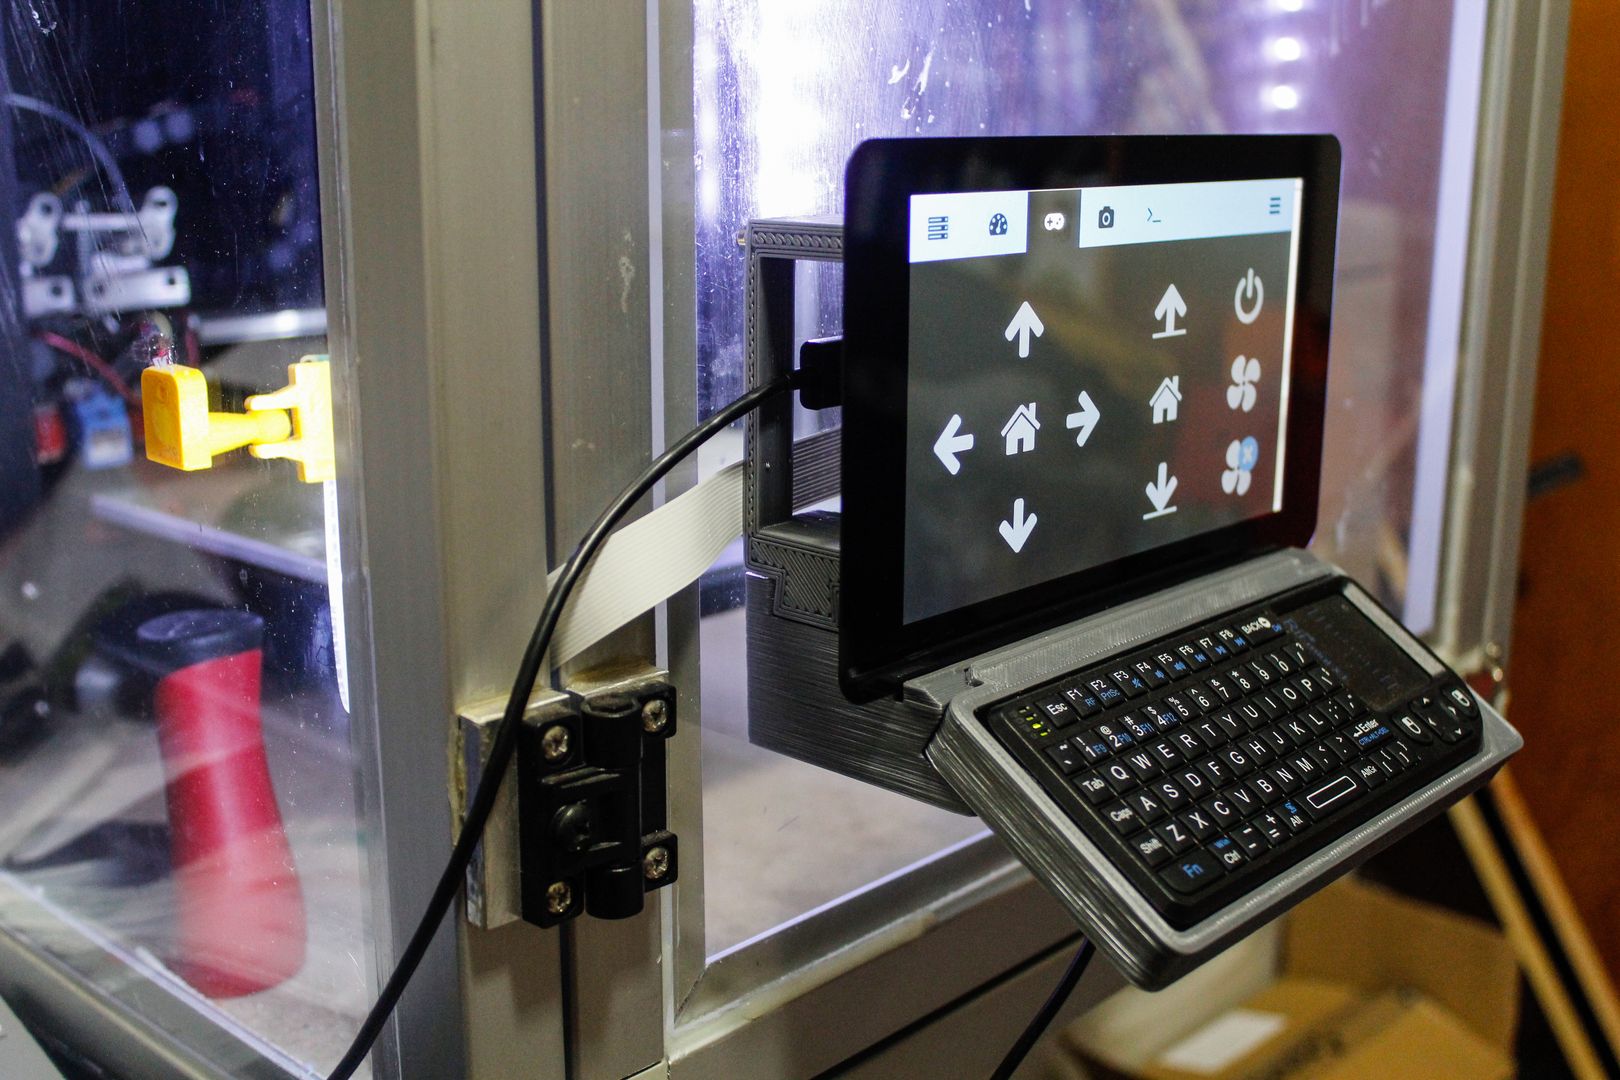
Another enclosure setup can be found in Jon Stern’s workshop:
Here’s my Octopi setup with a touchscreen and keyboard mount that I designed. It’s mounted on the door to my custom-built enclosure.
The camera mount (yellow on left) is this one only glued on to the Plexiglas (cheesy, I know) instead screwed on to a 2020 extrusion (which I didn’t use for my enclosure).
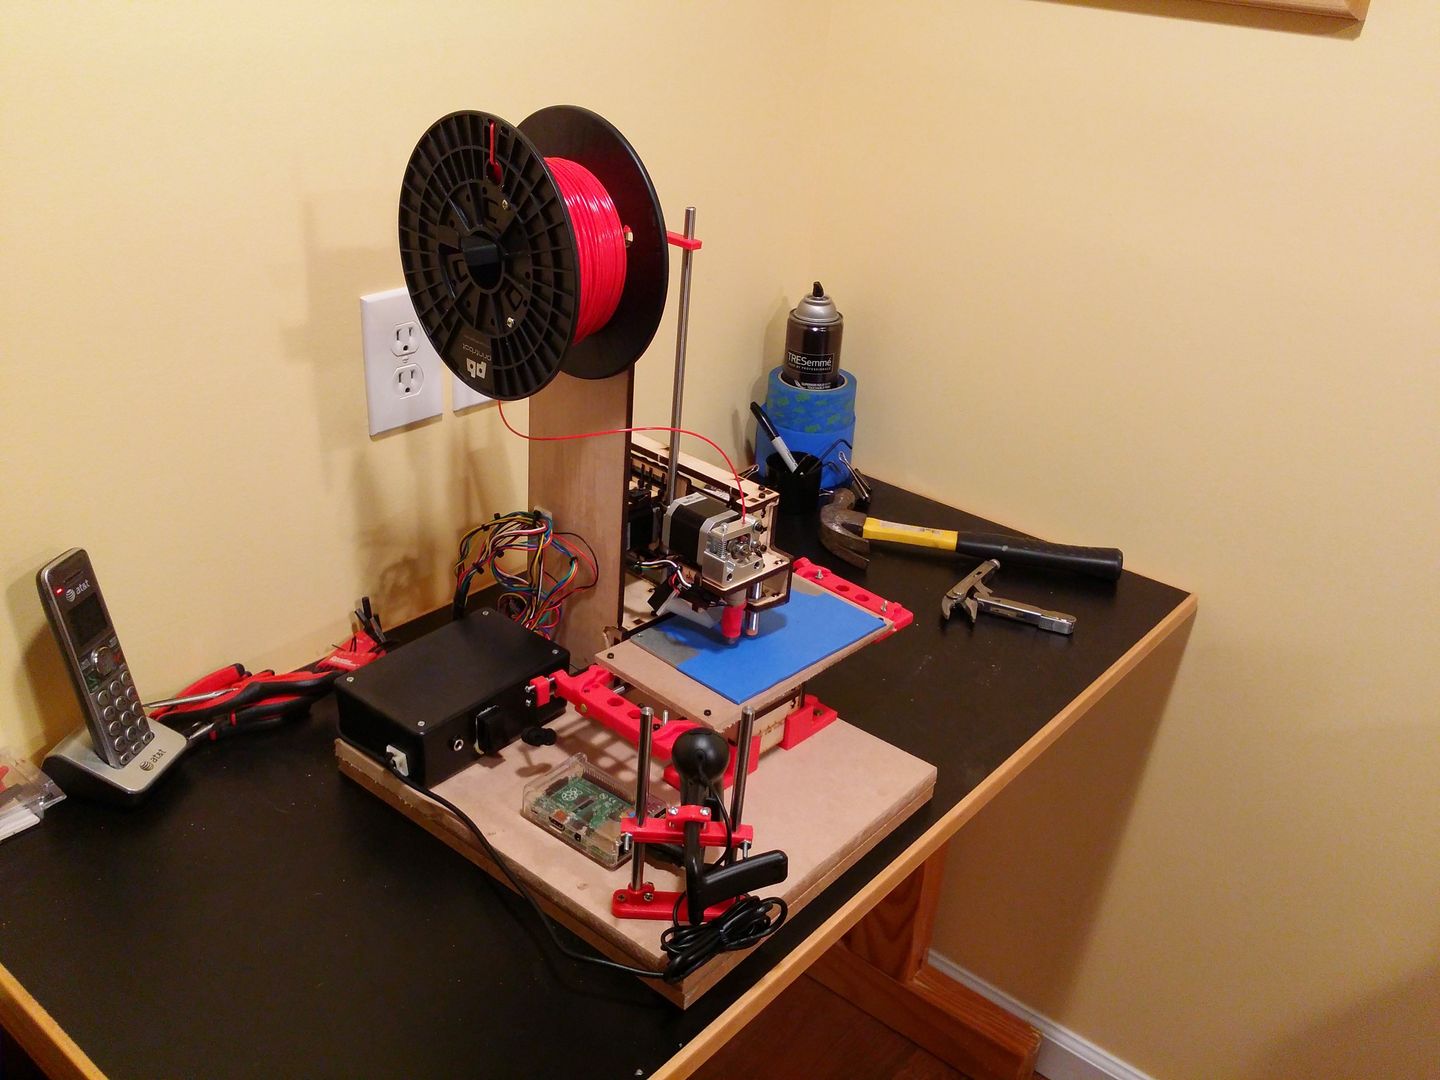
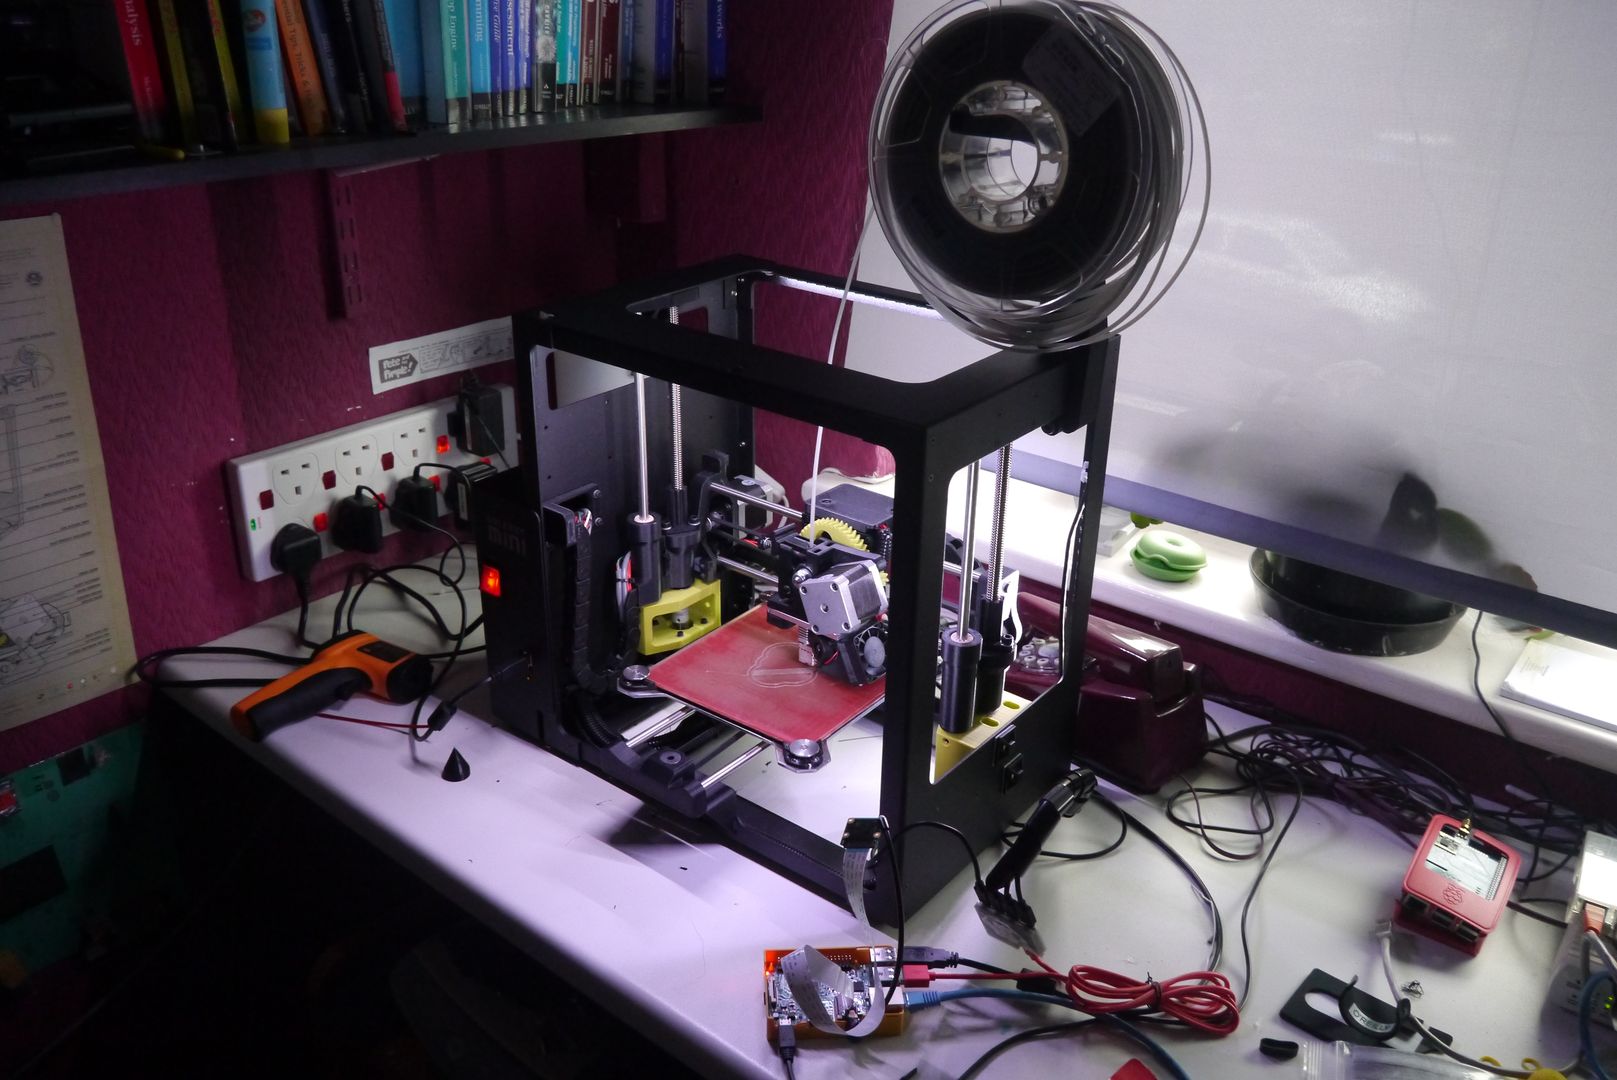
J Nerf shares this setup with a Printrbot Makers Edition as the centerpiece:
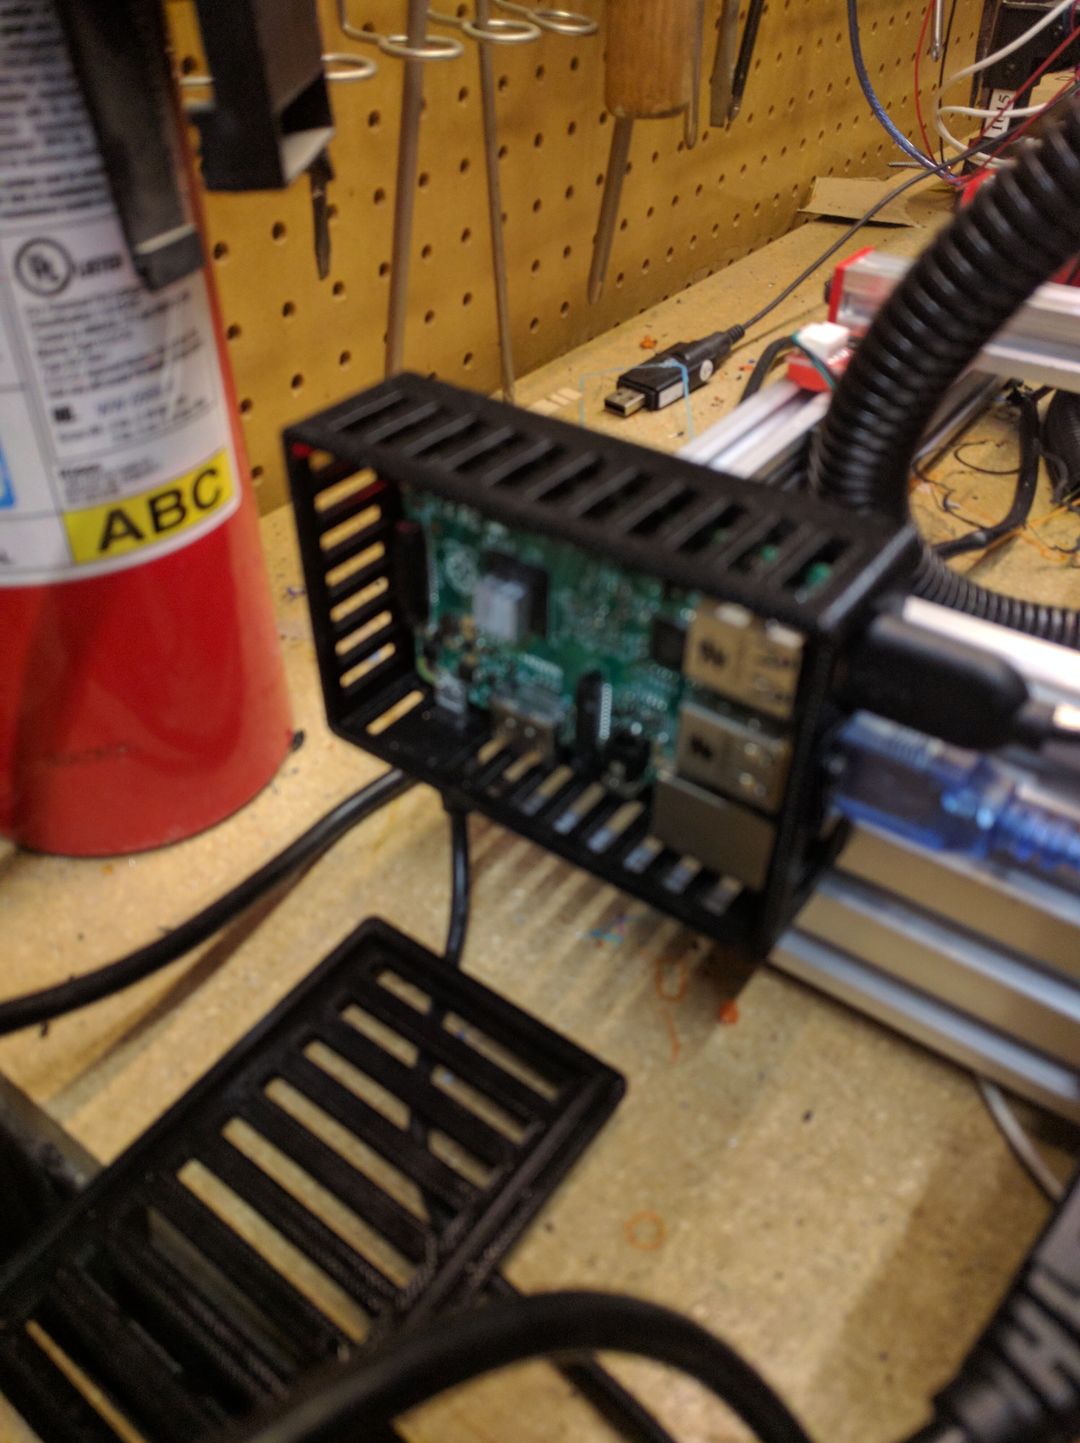
I’ve had this running for a while. It’s a printrbot makers edition, with a modified bed and Z axis extension. The printer controls are in the black project box instead of underneath. The pi can be seen in its box. It’s all mounted on heavy particle board, so it’s completely mobile, just pick it up and take it anywhere.
Another Printrbot by David Cain:
Here’s my PrintRBot and its new wooden tower/spool/RPi/PSU mount. […] It’s currently printing dust-extraction vacuum adaptors for my workshop. The RPi is in the red case on the left side of the tower (WiFi stick antenna hanging down, camera mount clipped to print-bed. I use a NoIR camera, mainly via accidental purchase. I keep meaning to light the whole thing up with LED striplights, but the Leg Lamp will do for now.

Yet another Printrbot by Brian Cost who writes:
Printerbot Simple Metal that I assembled. I wouldn’t have made all that I have without OctoPrint. Thank you, Gina!
You are welcome, Brian! :)
And if I’m not mistaken, that is also a heavily modified Printrbot printing away in Matt McMillan’s workshop there:
Here are some pictures of my setup with the touchscreen interface I wrote in Python/Kivy. I’m using the 7” Raspberry Pi touchscreen.
Way to go, Matt!
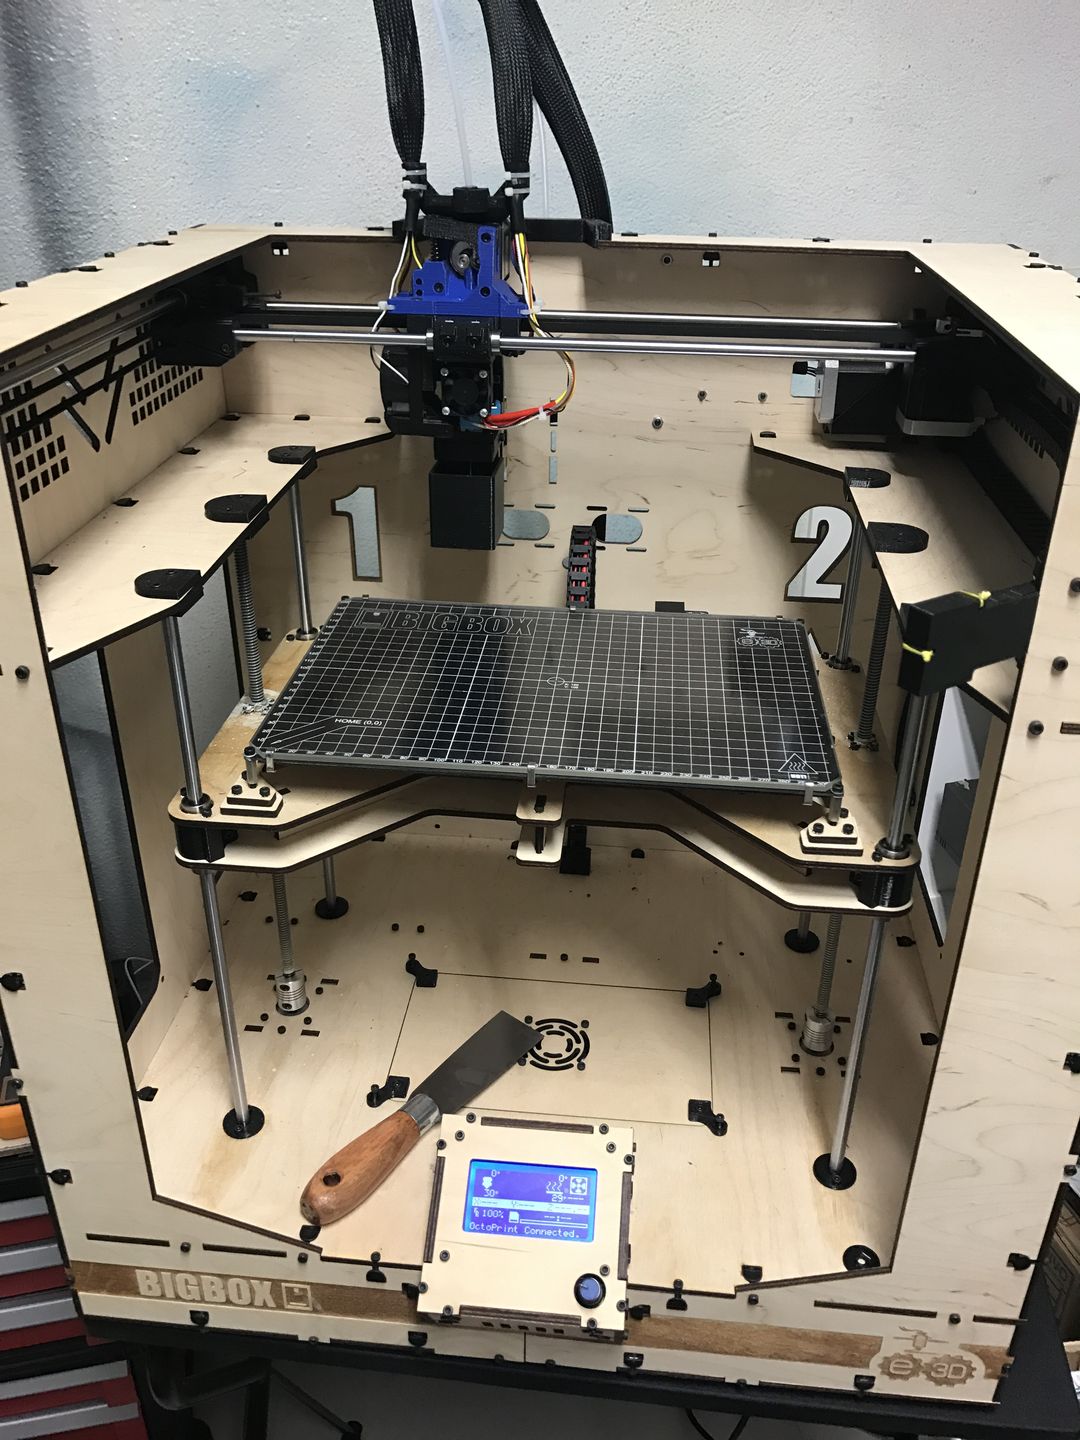
Stefan Schmidt shares his BigBox (which even comes bundled with OctoPrint!):
It is a BigBox with raspi 3 and raspi 7” touch, touch ui + autostart and the printer mains is switched by a power strip which is powered by the raspi’s usb power. So when a print is done I can shutdown octopi and the printer. Soon I will try to automate it by plugin depending on hotend cooled down.

Jorge Reis Fleming has one too:
E3D BigBox Pro with webcam mount.
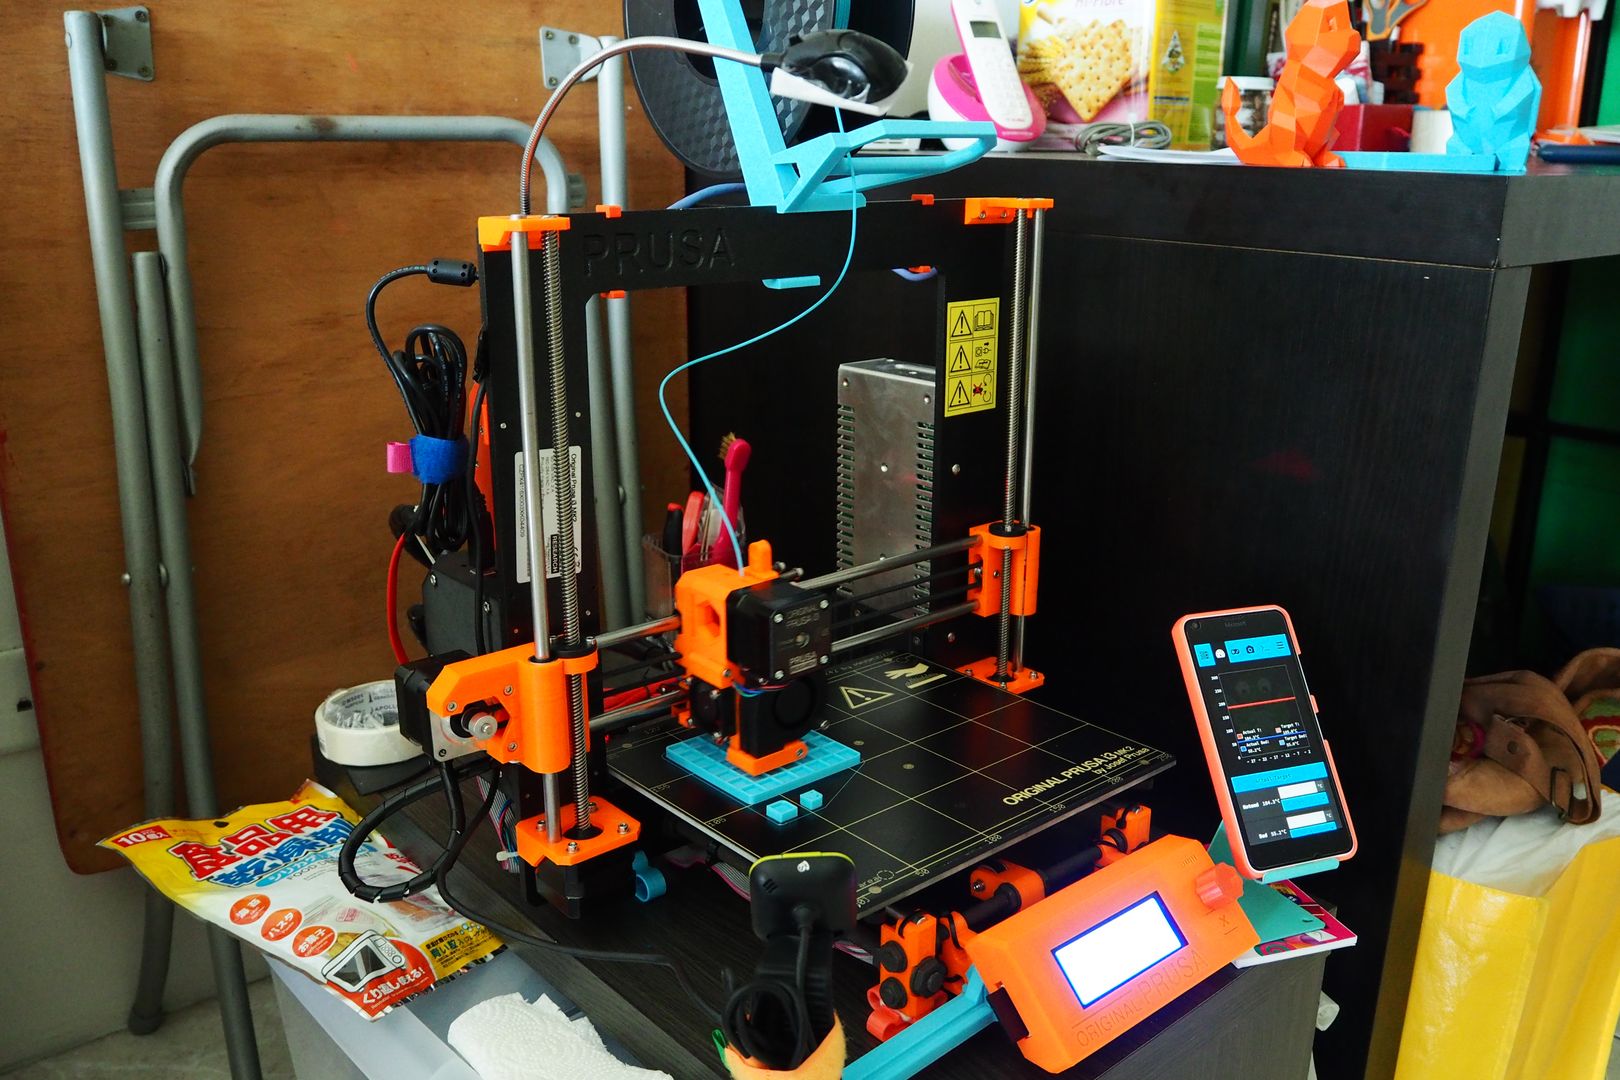
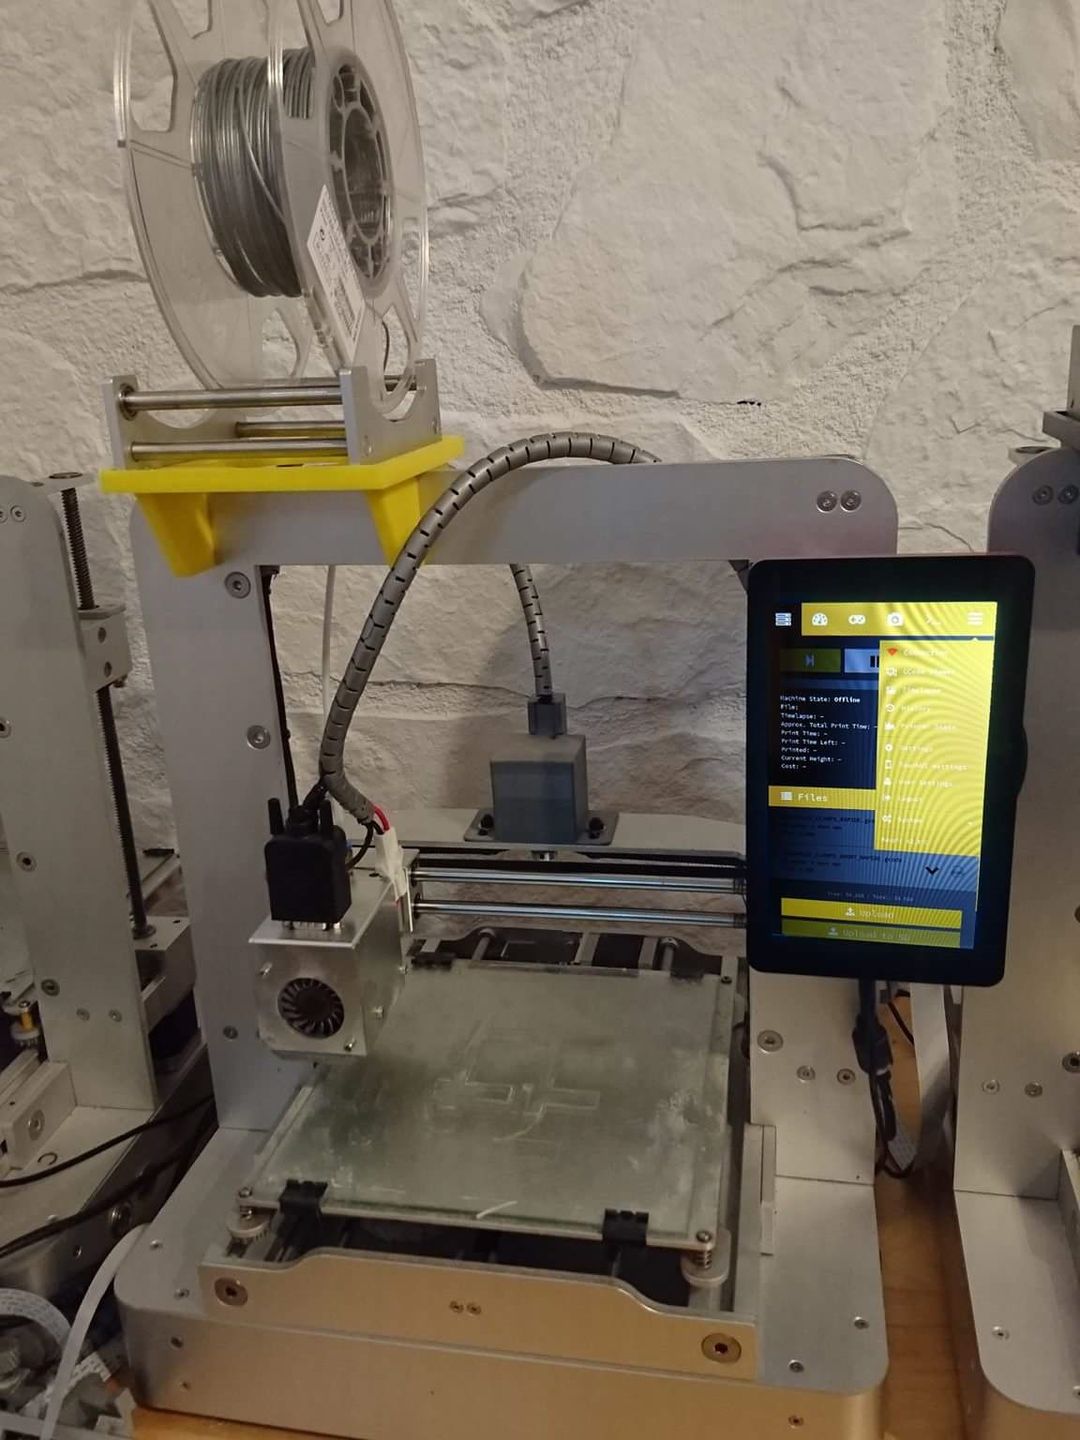
Seh Hui shares this space efficient setup:
Current setup w/ the Prusa i3 Mk2 and Raspberry Pi 2 setup. Also in the picture is my phone w/ Octoprint + TouchUI installed – which is helpful in monitoring prints while I’m on the go :)
The printer of Eric Pavey definitely seems to need a little bit more room, at least in the Z direction:
It’s a custom build core-xy “C-Bot”, build volume is around 12x12x20”, running RepRap Firmware on RADDS/Due. The RPi is in the little blue box on the right side, and I monitor it with either my laptop or phone when I’m away.

Edward Boston also chimes in with a C-Bot:
My C-Bot printer and the camera”
And here is Tim Hart’s setup:
Velleman K8200 with RaspberryPi & camera mount on the z axis
André Zumsteg writes:
This is my crappy printer. I started one year ago with a cheap entry level printer and was not satisfy with it. So I started to add a few thing to make it better and make higher prints. Yes, the lamp is from Ikea :-D
I need to get to Ikea.
Here’s Markus Schicker’s setup:
Here is a picture of my OctoPi + cam setup
Luke Pettit is still undecided whether to use one or two Pis for two printers:
The pi is in its blue case near the keyboard with leads to the camera and the printer from the router etc I deliberately didnt clean up as this is the state of things in full “I’m printing” mode. In the scene you can see spare or old pi’s that sit nearby ready for a home made coryxy that I can’t decide whether to run a second instance of octopi from the same rpi or just use a second rpi.

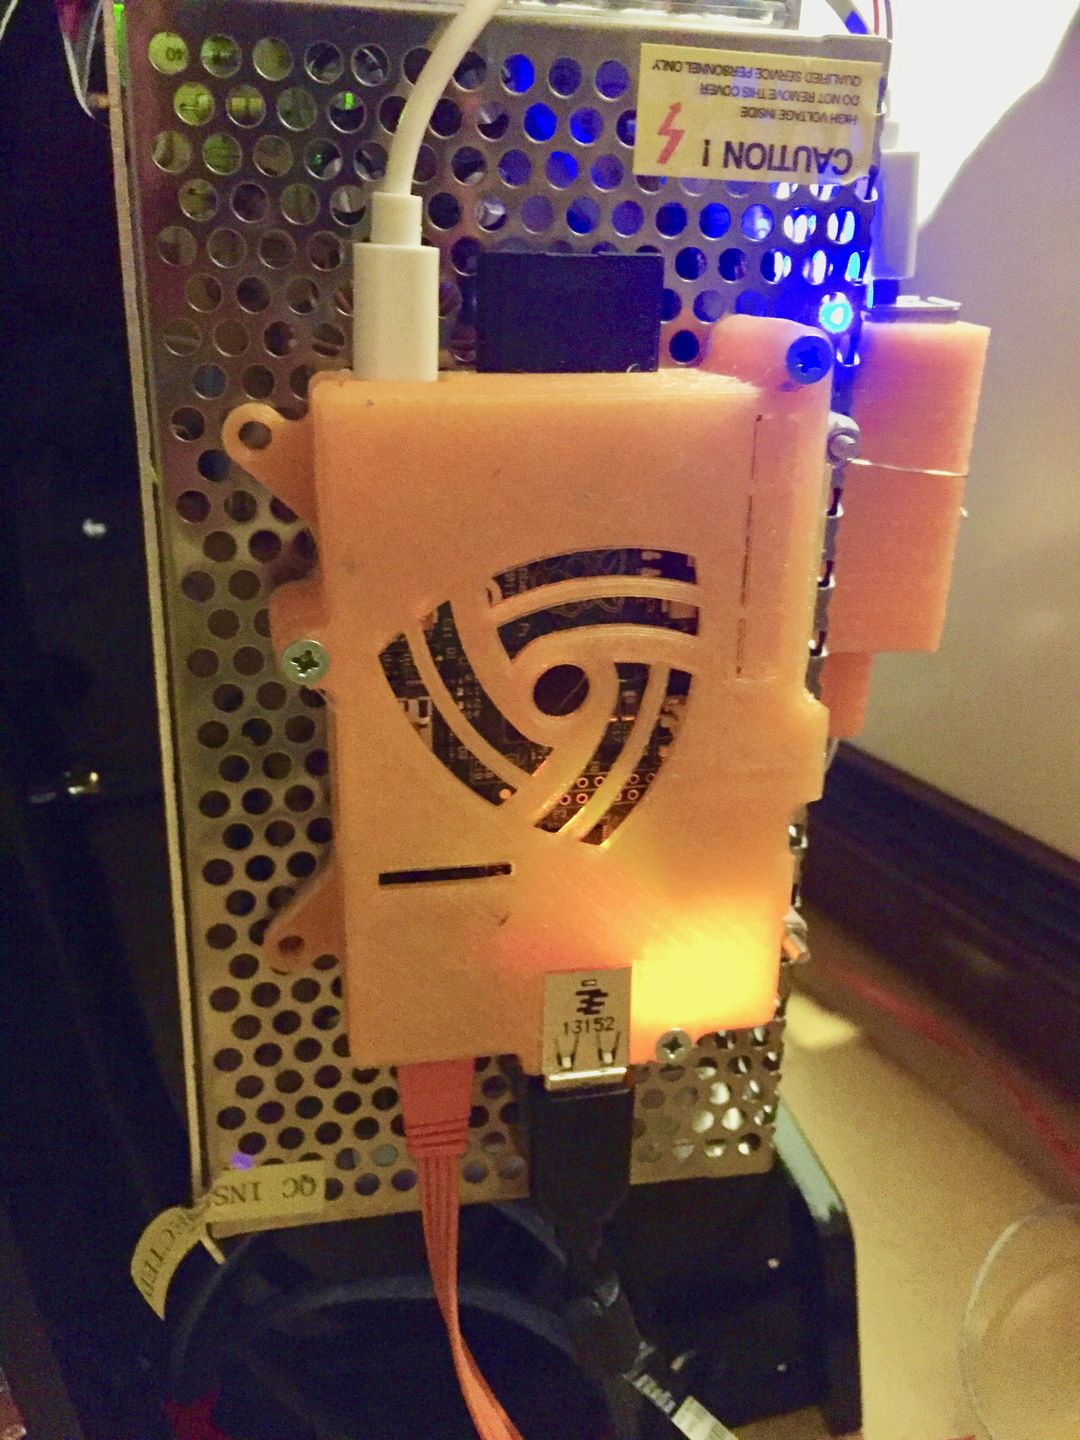
Carsten Wartmann on the other hand doesn’t worry about that and has turned this poor little Pi into quite the workhorse ;)
Serving two printers so far, also doing seti@home, has a monitor/keyboard/mouse for doing stuff and is used for my digital scope. So quite busy.

Just for the record, personally I’m still a firm believer of the “on-Pi-per-printer” approach, but YMMV :)
René Jurack hides things in plain sight:
Nothing to see, because it’s hidden inside and I use Web-UI only.
The printer is René’s own design, the DICE.
Then there’s Stefan Krister’s Mendel 90 for which he designed the RPi mount himself:
The lamp on the right in William Waggoner’s setup looks familiar - Ikea again? :)
Print3dForum.com sent in these pictures:

And Richard Hayler had this nice picture of his printer to share:
There’s also this one by @SirDoubtsALot:
And this one by Michael Johnson:

@MCHRISP1 shared his setup via Twitter
@foosel @OctoPrint3D Are pics like this what you're looking for? I can clean these up a bit if yes... pic.twitter.com/I0ks4ms4uj
— Chris (@MCHRISP1) November 27, 2016
And last but not least, Twitter user @mikethebomber went one step further and sent in a video of his setup:
@OctoPrint3D pic.twitter.com/2vOwMB2yNU
— NeoPortnoy (@mikethebomber) November 27, 2016
Thank you Mike, that made my day :D
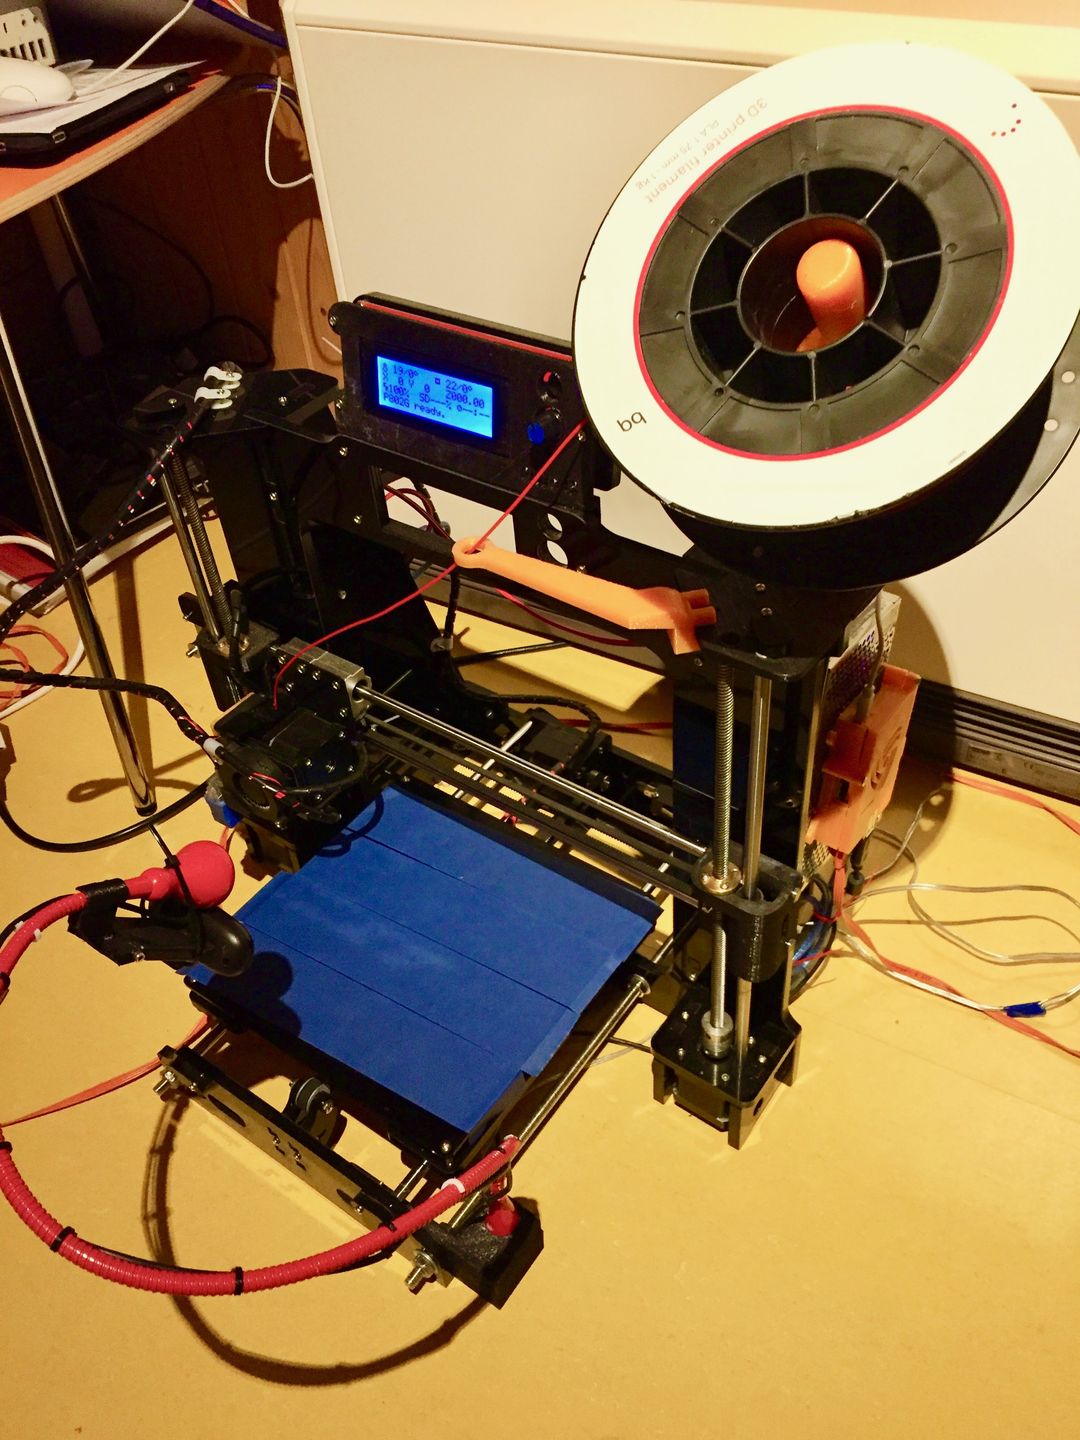
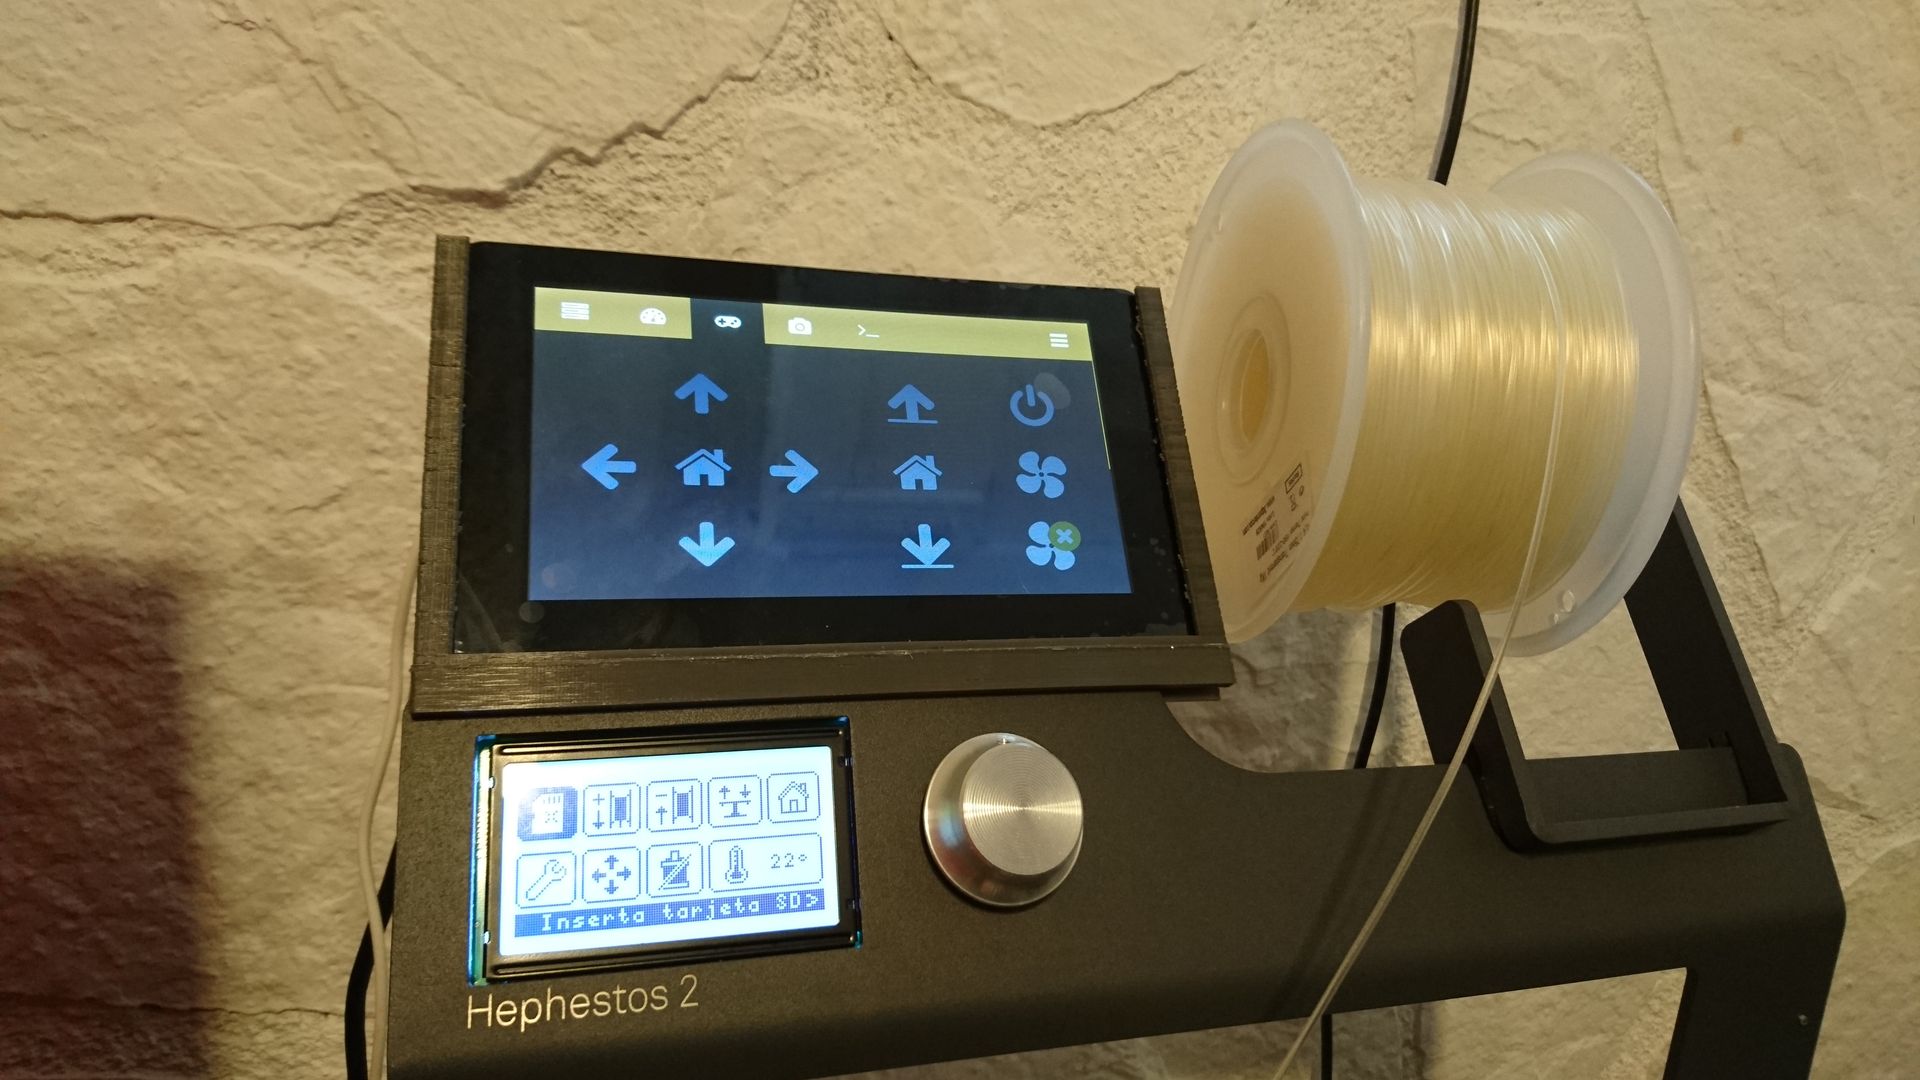
And in case you are wondering, this is my current setup (not only for printing, but also for testing during development, courtesy of a lengthy USB extension cable running to my workstation):
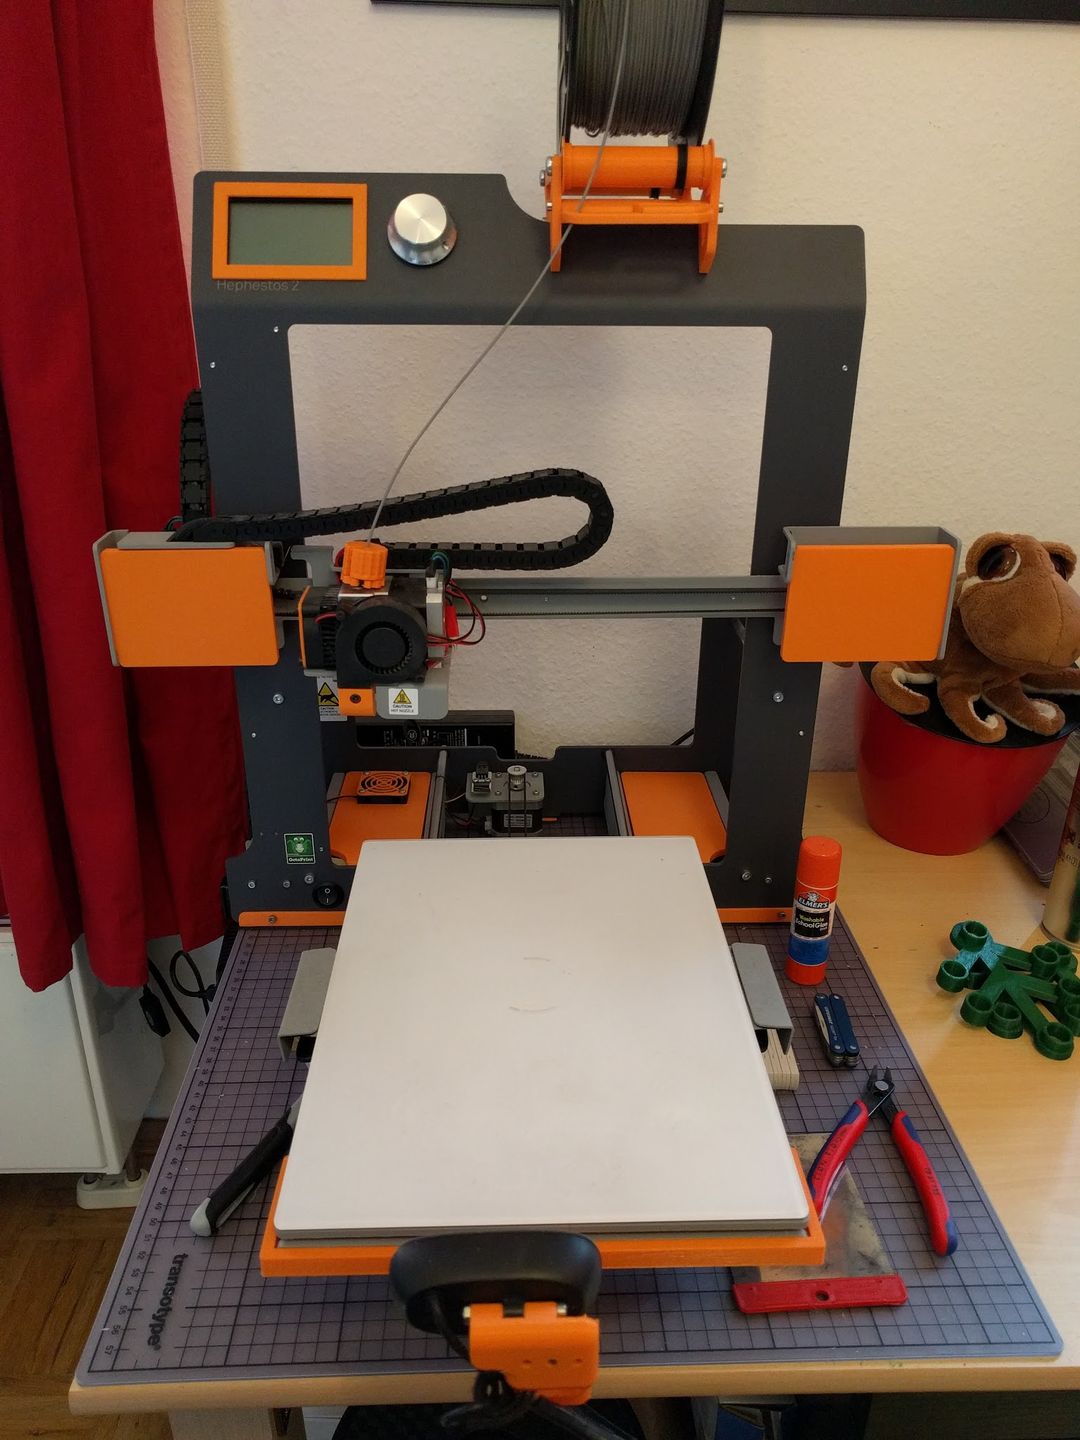
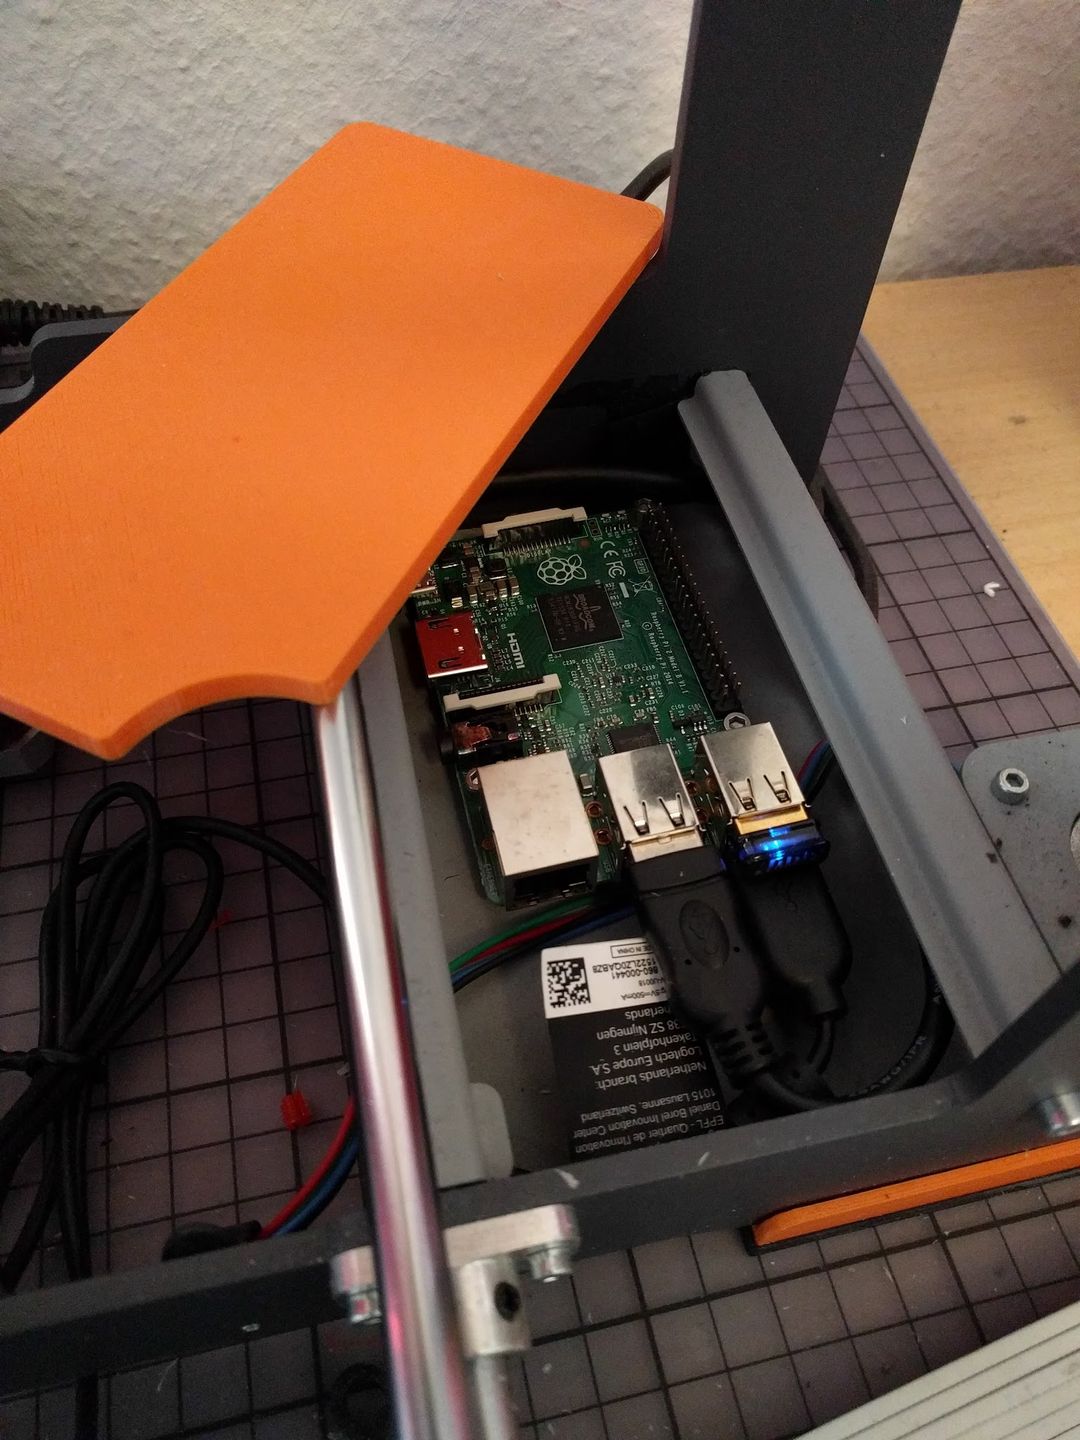
Hephestos 2 sitting on a self-built desk in my office. Lot’s of stuff designed and printed for it (custom spool holder, filament guide, camera mount, electronics bay with fan, replacement covers to keep with the color scheme - none of that shared yet, no time) and also some things I found readily available on Thingiverse (LCD bezel & cover, dust filter, 40mm fan guard of which I can’t find the link anymore). The Pi2 lives inside the right side electronics bay, on a little velcro’d in caddy.
I hope you found this little feature as inspiring as I did - if so it will not be the last one like this :) Let me know on Twitter! Cheers!
Edit 2016-12-15 Added another couple of pictures I managed to overlook 😱